DLPU131A November 2023 – September 2024
2.3.1 Main Menu
After initial powerup and demo display, the push-button switch, SW2, can be used to cycle through the following four main input/display selections. See Table 2-2 for reference.
Table 2-2 Main Input/Display Selections
| Option | Description | Instructions |
|---|---|---|
| MicroSD card | Display images from MicroSD card (not included). | Load content in the MicroSD card per Section 2.3.2. Insert MicroSD card before selecting the menu. Images on the MicroSD are cycled on screen. Quick button (SW2) press after images start displaying causes the image display to abort and the screen display goes to the Return to Menu screen. |
| Images from Flash memory | Display pre-loaded images from display controller Flash memory. | Eight images stored in Flash memory shown individually. Quick button (SW2) press after images start displaying causes the image display to abort and the screen display goes to the Return to Menu screen. |
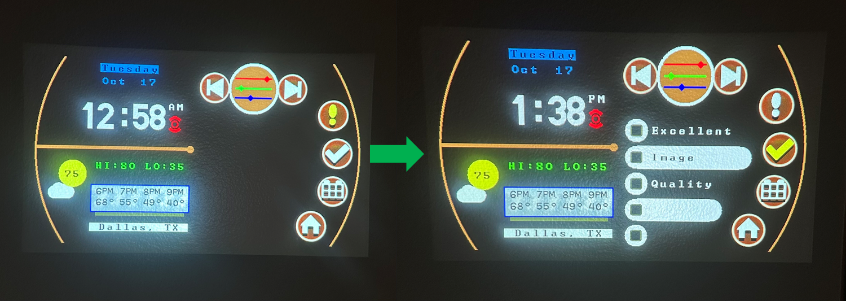
| Smart Home demo | Smart Home user interface demo. MCU generated images using media library. | Cycle through the Smart Home menus with a quick button press. Select each menu by long pressing the button. Select the Home icon to return the main menu. |
 | ||
| Reserved | Reserved space for future capabilities |