SNAU307A May 2024 – May 2024 LMKDB1204
- 1
- Description
- Features
- Applications
- 5
- 1 Evaluation Module Overview
- 2 EVM Quick Start
- 3 Hardware
- 4 Software
- 5 Implementation Results
- 6 Hardware Design Files
- 7 Compliance Information
- 8 Additional Information
- 9 References
- 10Revision History
2.2.1 TICS Pro GUI Setup
- If not already installed, then install TICS Pro software from TI website: TICS Pro Software GUI.
- Start TICS Pro software.
- Select the LMKDB1204 profile from Select Device → Clock Distribution with Divider → LMKDB1204.
- Confirm communication with the board:
- Click USB Communication from the menu bar.
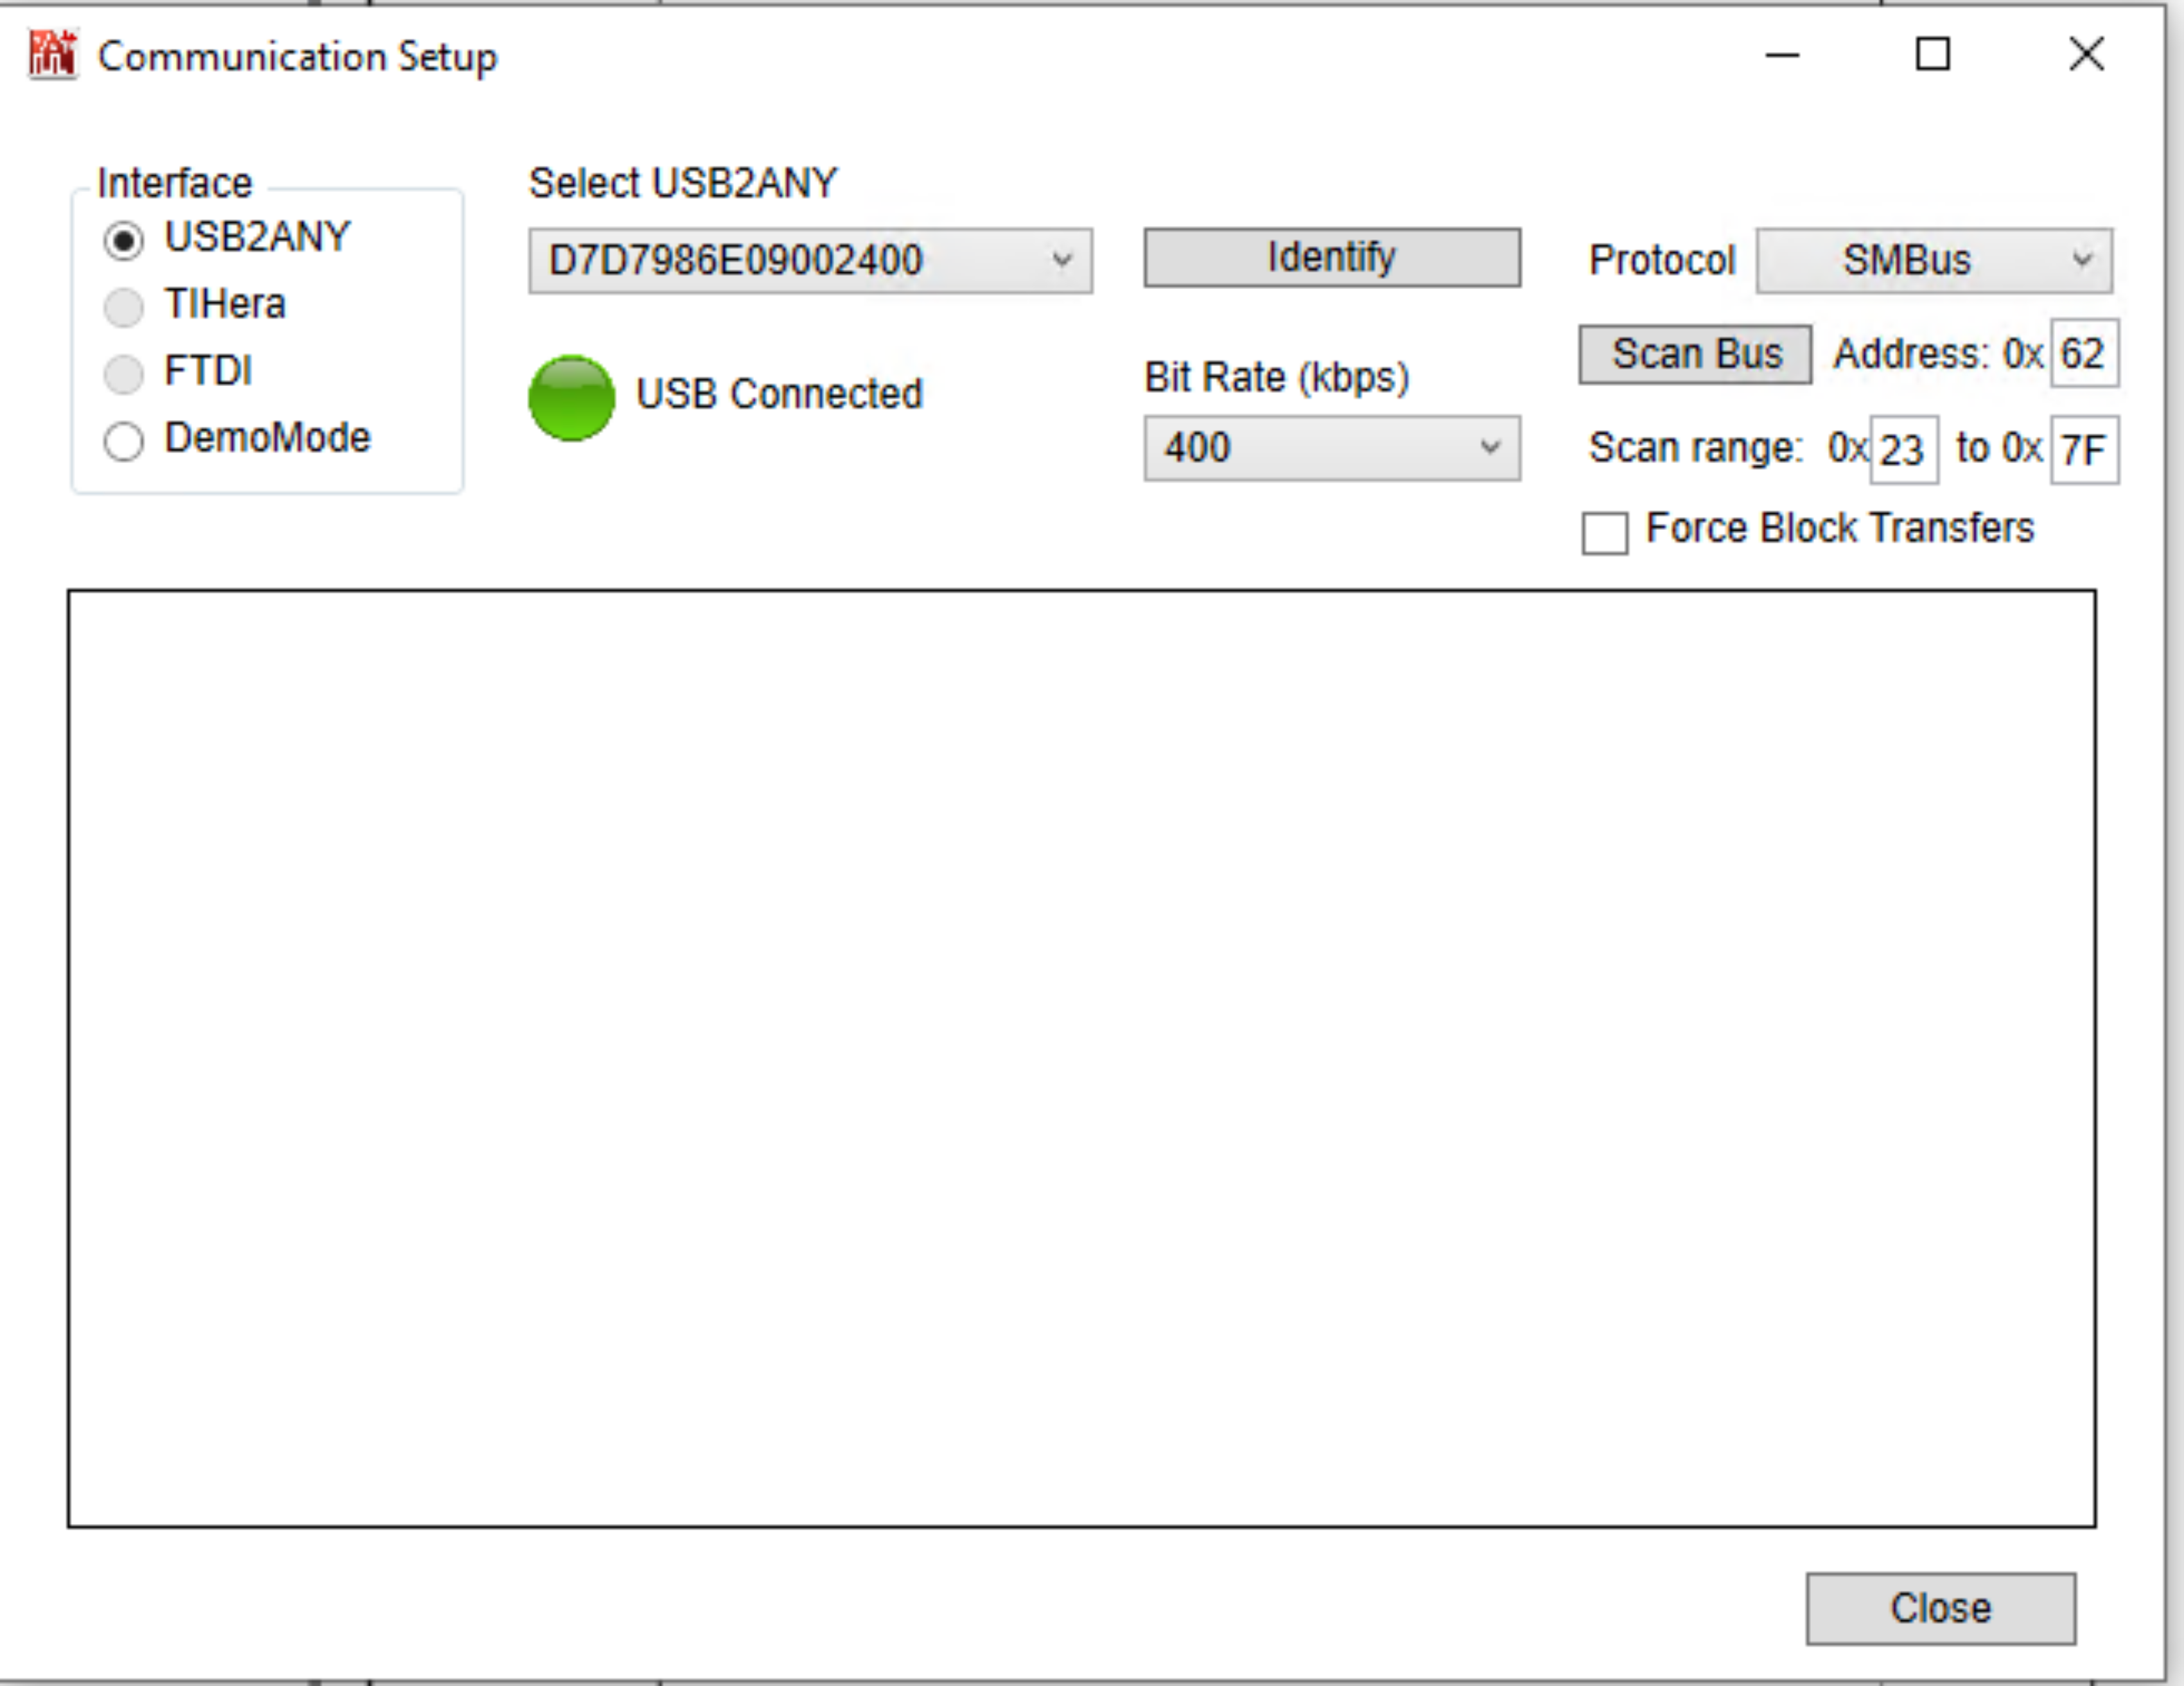
- Click Interface to launch the Communication Setup pop-up window.
- Confirm the following
fields from the Communication Setup pop-up window:
- Make sure USB2ANY is selected as the interface.
- In case of multiple USB2ANY, select desired interface. If a USB2ANY is currently in use in another TICS Pro, then the user must release that interface by changing the interface setting to DemoMode.
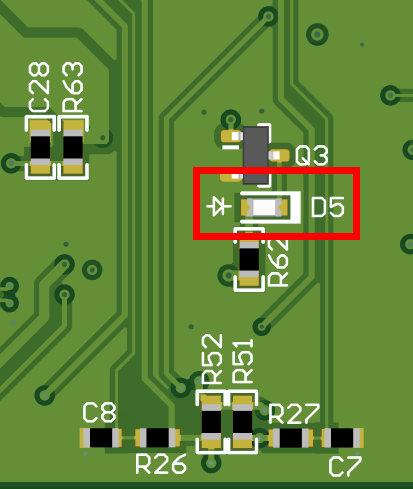
- Click Identify to blink LED shown in Figure 3-1. After clicking the Identify button, the LED flashes quickly at about 0.5 second on, 0.5 second off for about 5 seconds. This confirms the connection to the board. However, be aware that USB2ANY devices that are connected to the PC, but not attached to a TICS Pro profile, can blink at a slow rate of 1 second on, 1 second off continuously.
- Confirm all the fields
match the ones shown in Figure 3-2.
 Figure 2-1 USB
LED
 Figure 2-2 Communication
Setup