SWRU556 June 2021 CC3100 , CC3200
5.1 CC31xxBOOST Plus CC31XXEMUBOOST
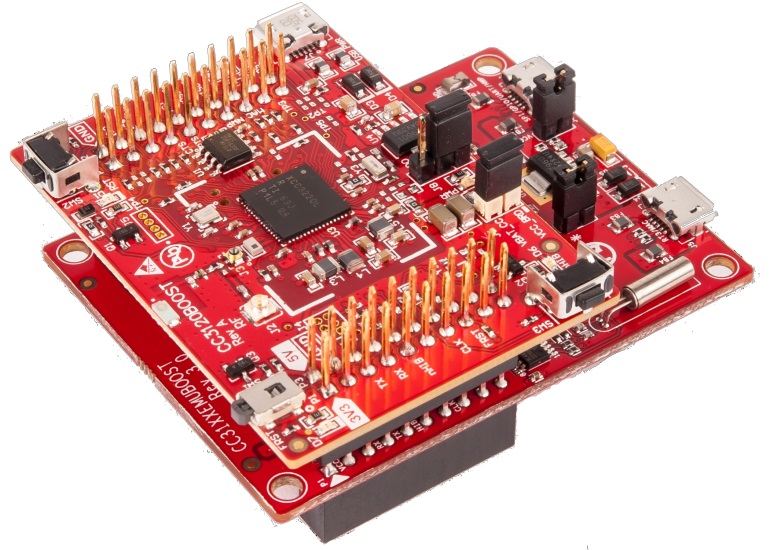
Figure 5-1 shows how to mount the CC31xxBOOST board on top of the CC31XXEMUBOOST board. Ensure P1.1 of both boards is aligned with each other, as indicated by the white arrows on the boards.
Connect the RF connector (J2 or J3) to a WLAN tester/RF equipment for measurements. Ensure the RF connection to the instrument is made before powering on the boards, so that the correct load impedance is provided during power on.
 Figure 5-1 CC31xxBOOST Board Mounted on
Top of CC31XXEMUBOOST Board
Figure 5-1 CC31xxBOOST Board Mounted on
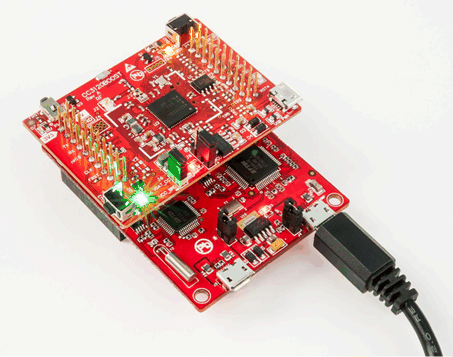
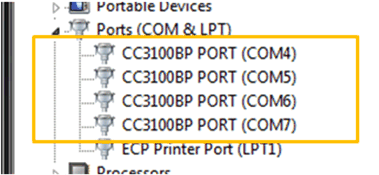
Top of CC31XXEMUBOOST BoardTo power the platforms, connect the J6 port of CC31XXEMUBOOST to the Windows PC using a micro USB cable, as shown in Figure 5-2. If the drivers are properly installed as mentioned during the SDK installation, the PC should recognize and list the connected device in the Device Manager, shown in Figure 5-3. For details on the driver and SDK installation, see the SimpleLink™ Wi-Fi® and Internet of Things CC3120 Software Getting Started Guide.
 Figure 5-2 Powering the Platforms
 Figure 5-3 Device Manager Showing
Ports
Figure 5-3 Device Manager Showing
PortsBy default, the RF path is routed to J3 (Murata RF Switch). To use J2 (uFL) for RF measurements, swap the position of the 0-Ω resistor to disconnect the path to the onboard antenna, and enable the path to the uFL connector.