SBAU398 March   2022


  1.   Trademarks
  2. 1Introduction
  3. 2Hardware Overview
    1. 2.1 AC-MB Settings
      1. 2.1.1 Audio Serial Interface Settings
        1. 2.1.1.1 USB
        2. 2.1.1.2 Optical or Auxilary Analog Audio Input
        3. 2.1.1.3 External
      2. 2.1.2 AC-MB Power Supply
    2. 2.2 ADCx120Q1EVM-PDK Hardware Settings
      1. 2.2.1 Line Inputs
      2. 2.2.2 Onboard Microphone Configuration
      3. 2.2.3 External Microphone Configurations
  4. 3Software Overview
    1. 3.1 PurePath Console 3 Installation
    2. 3.2 ADCx120Q1EVM GUI Installation
      1. 3.2.1 Software Setup
  5. 4GPIO1 Settings
  6. 5Master Mode Operation
  7. 6Quick Start
    1. 6.1 Configuring the Audio Serial Bus for the I2S Output
    2. 6.2 Saving a Configuration
  8. 7Schematic and Bill of Materials
    1. 7.1 ADCx120Q1EVM-PDK Schematic and Bill of Materials
      1. 7.1.1 ADCx120Q1EVM-PDK Schematic
      2. 7.1.2 ADCx120Q1EVM-PDK Bill of Materials
    2. 7.2 AC-MB Schematic and Bill of Materials
      1. 7.2.1 AC-MB Schematic
      2. 7.2.2 AC-MB Bill of Materials
    3. 7.3 Matlab Audio Capture Example

PurePath Console 3 Installation

The ADCx120Q1EVM-PDK GUI is an application that installs into the PPC3 framework. PPC3 must be installed prior to downloading the ADCx120Q1EVM-PDK GUI. To download the PPC3, visit www.ti.com/tool/PUREPATHCONSOLE and request access. If the PPC3 is already installed, proceed to Section 3.2. Figure 3-1 shows the setup directory for the PPC3 installation.
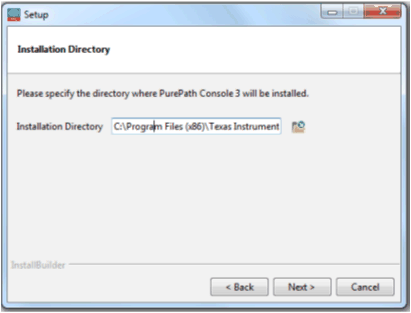
GUID-07375941-403F-460D-BD76-21E5CB0D68E2-low.gifFigure 3-1 PurePath Console 3 Installation

Open the PPC3 installer and follow the instructions in the setup wizard.