SCEU030A August 2024 – December 2024 TPLD1201
PRODUCTION DATA
3.2.3 Connecting the TPLD1201-DGS-EVM to a TPLD-PROGRAM Board
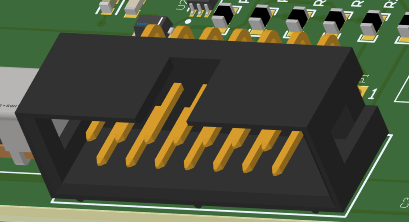
All cables included are keyed and can only be plugged in when facing the correct direction. If a cable cannot be inserted with the application of a gentle amount of force, try swapping the orientation of the cable and making sure that the header housings are unobstructed before trying again. Forcing the connections can cause damage to the cables and boards.
- Connect the programmer board to a computer running InterConnect Studio using the provided USB cable. Make sure that a good connection is made between the TPLD-PROGRAM and the computer, indicated by the two blue LEDs on the TPLD-PROGRAM both being on. An example of a fully connected EVM can be seen in Figure 3-4.
- Connect the TPLD-PROGRAM to the TPLD1201-DGS-EVM using the provided 14-position ribbon cable. Make sure that a good connection is made between the TPLD1201-DGS-EVM and the TPLD-PROGRAM, indicated by the 3V3 LED in the top left of the EVM being on.
 Figure 3-4 Keyed Header Socket