SLAU833A May 2020 – October 2020 ADC12DJ3200
7.2.1 Programming the FPGA
This section provides instructions for programming the FPGA.
Launch Vivado 2019.1 and open the Hardware Manager.
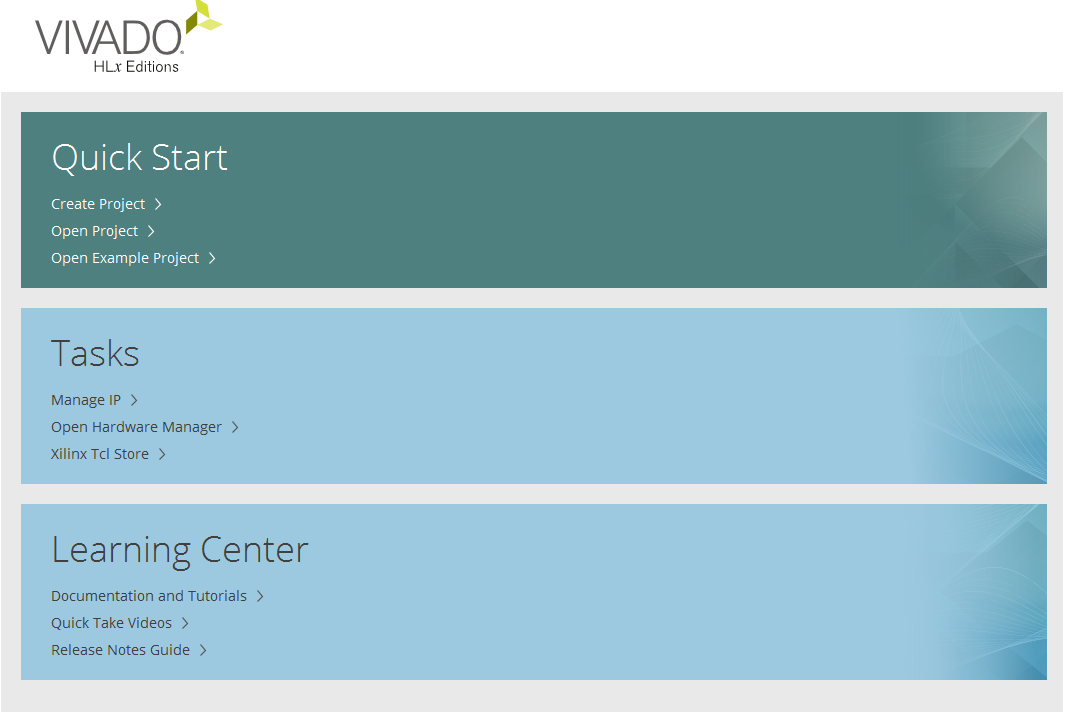 Figure 7-6 Vivado® Main Menu
Select “Open Target”.
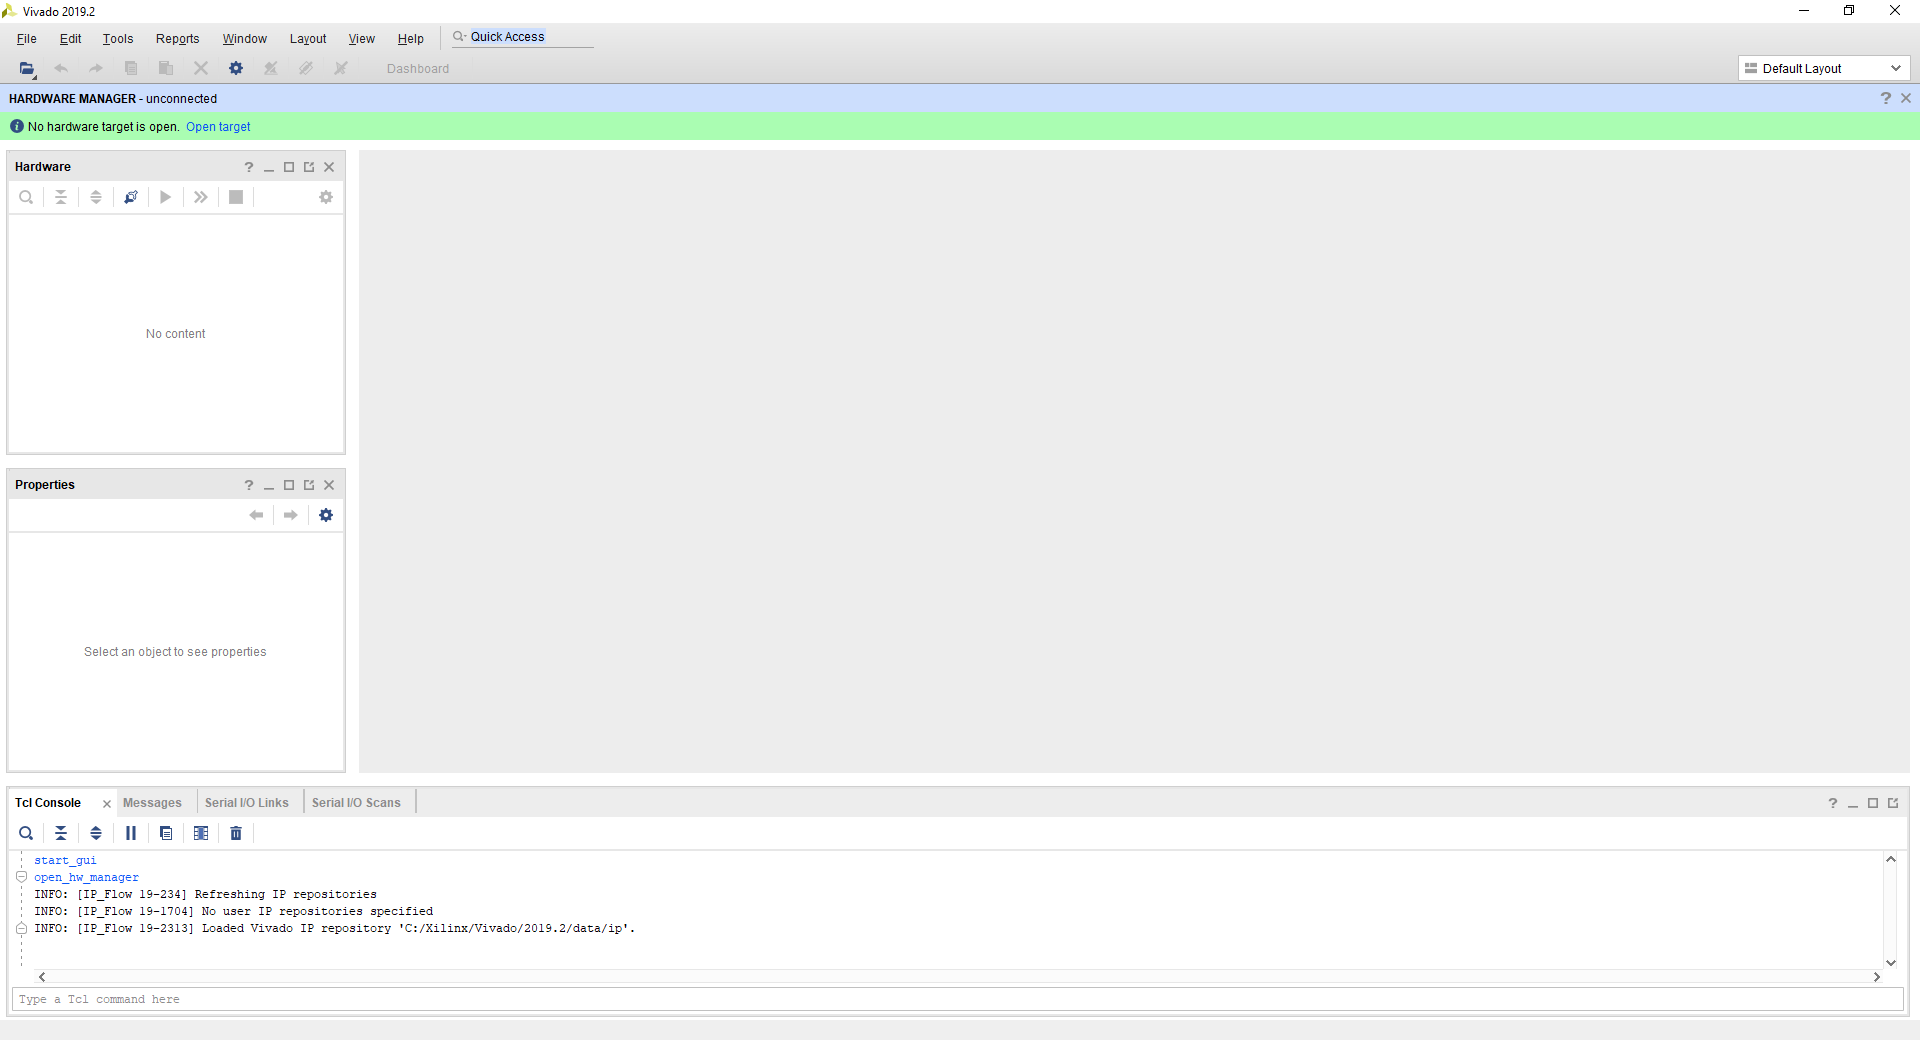 Figure 7-7 Open Target
Select “Auto Connect”
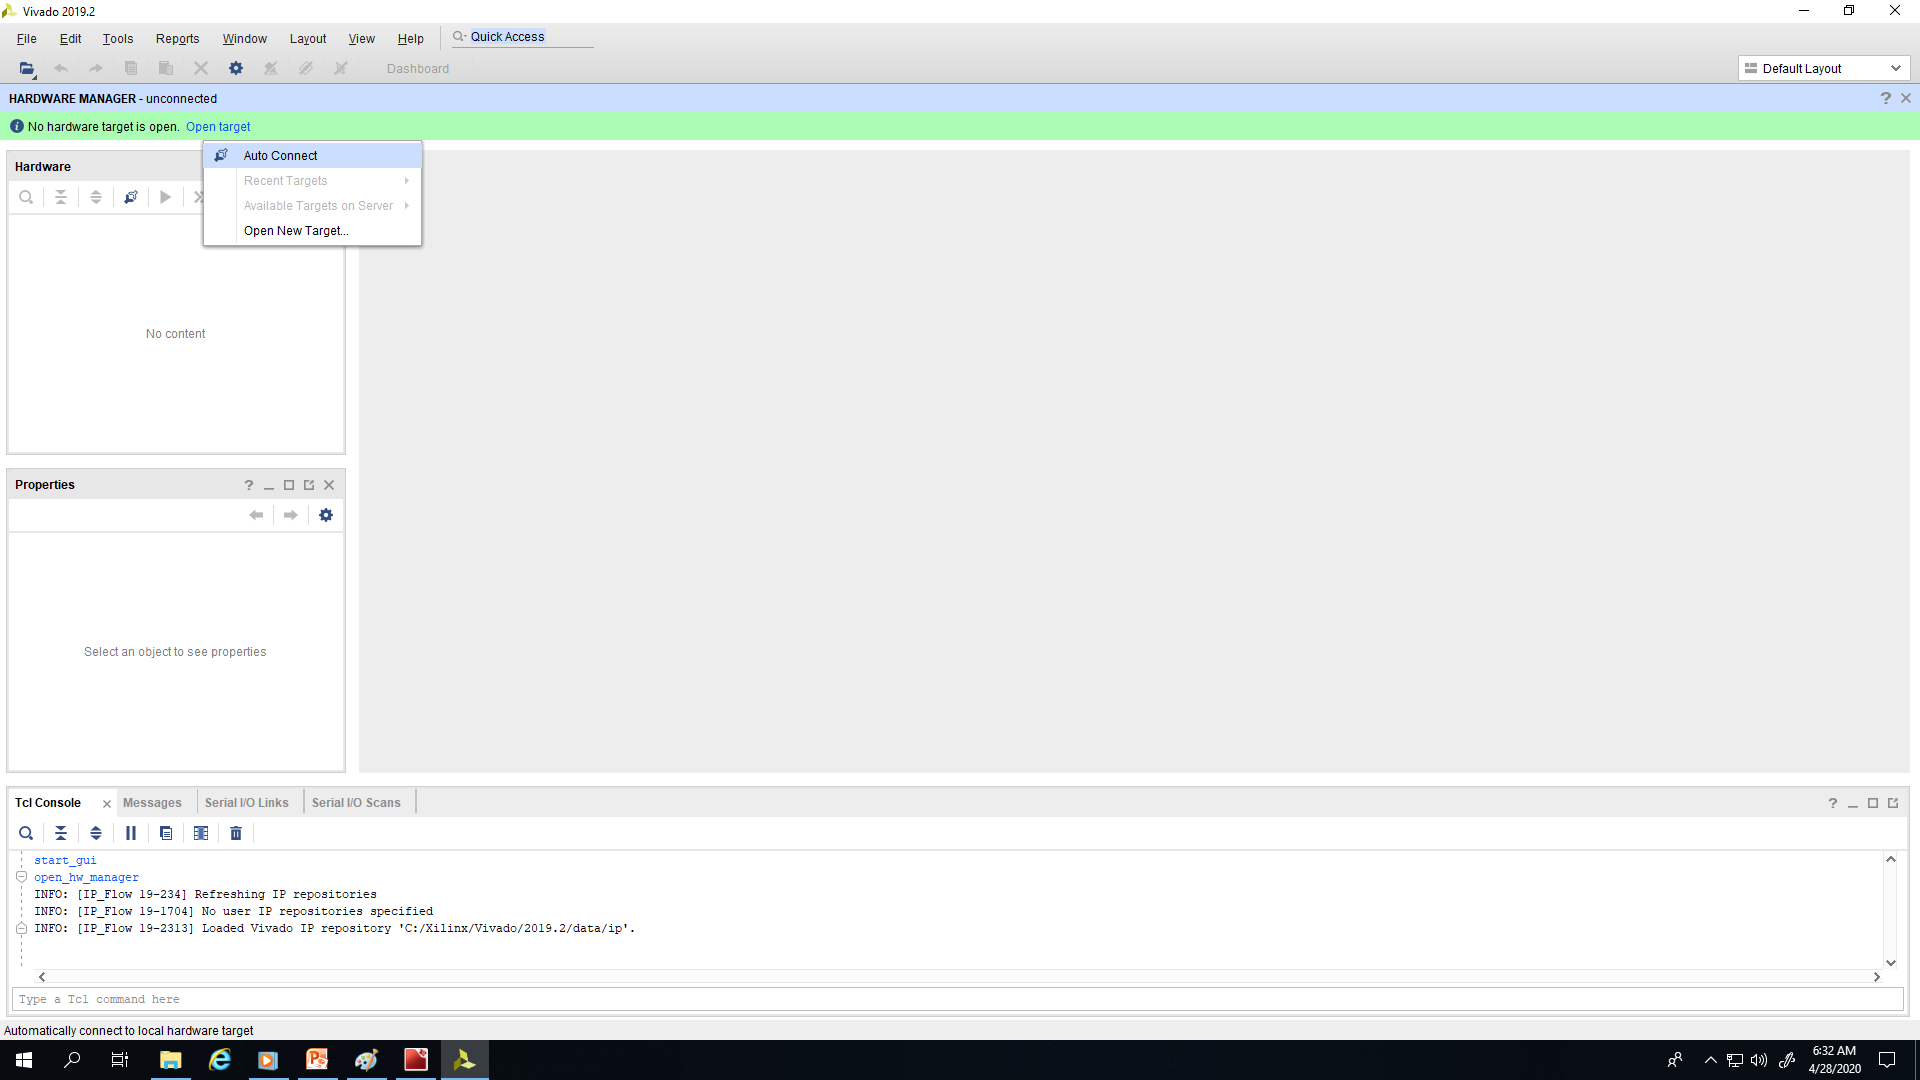 Figure 7-8 Auto Connect
Right click on the xcku060… device and select “Program”.
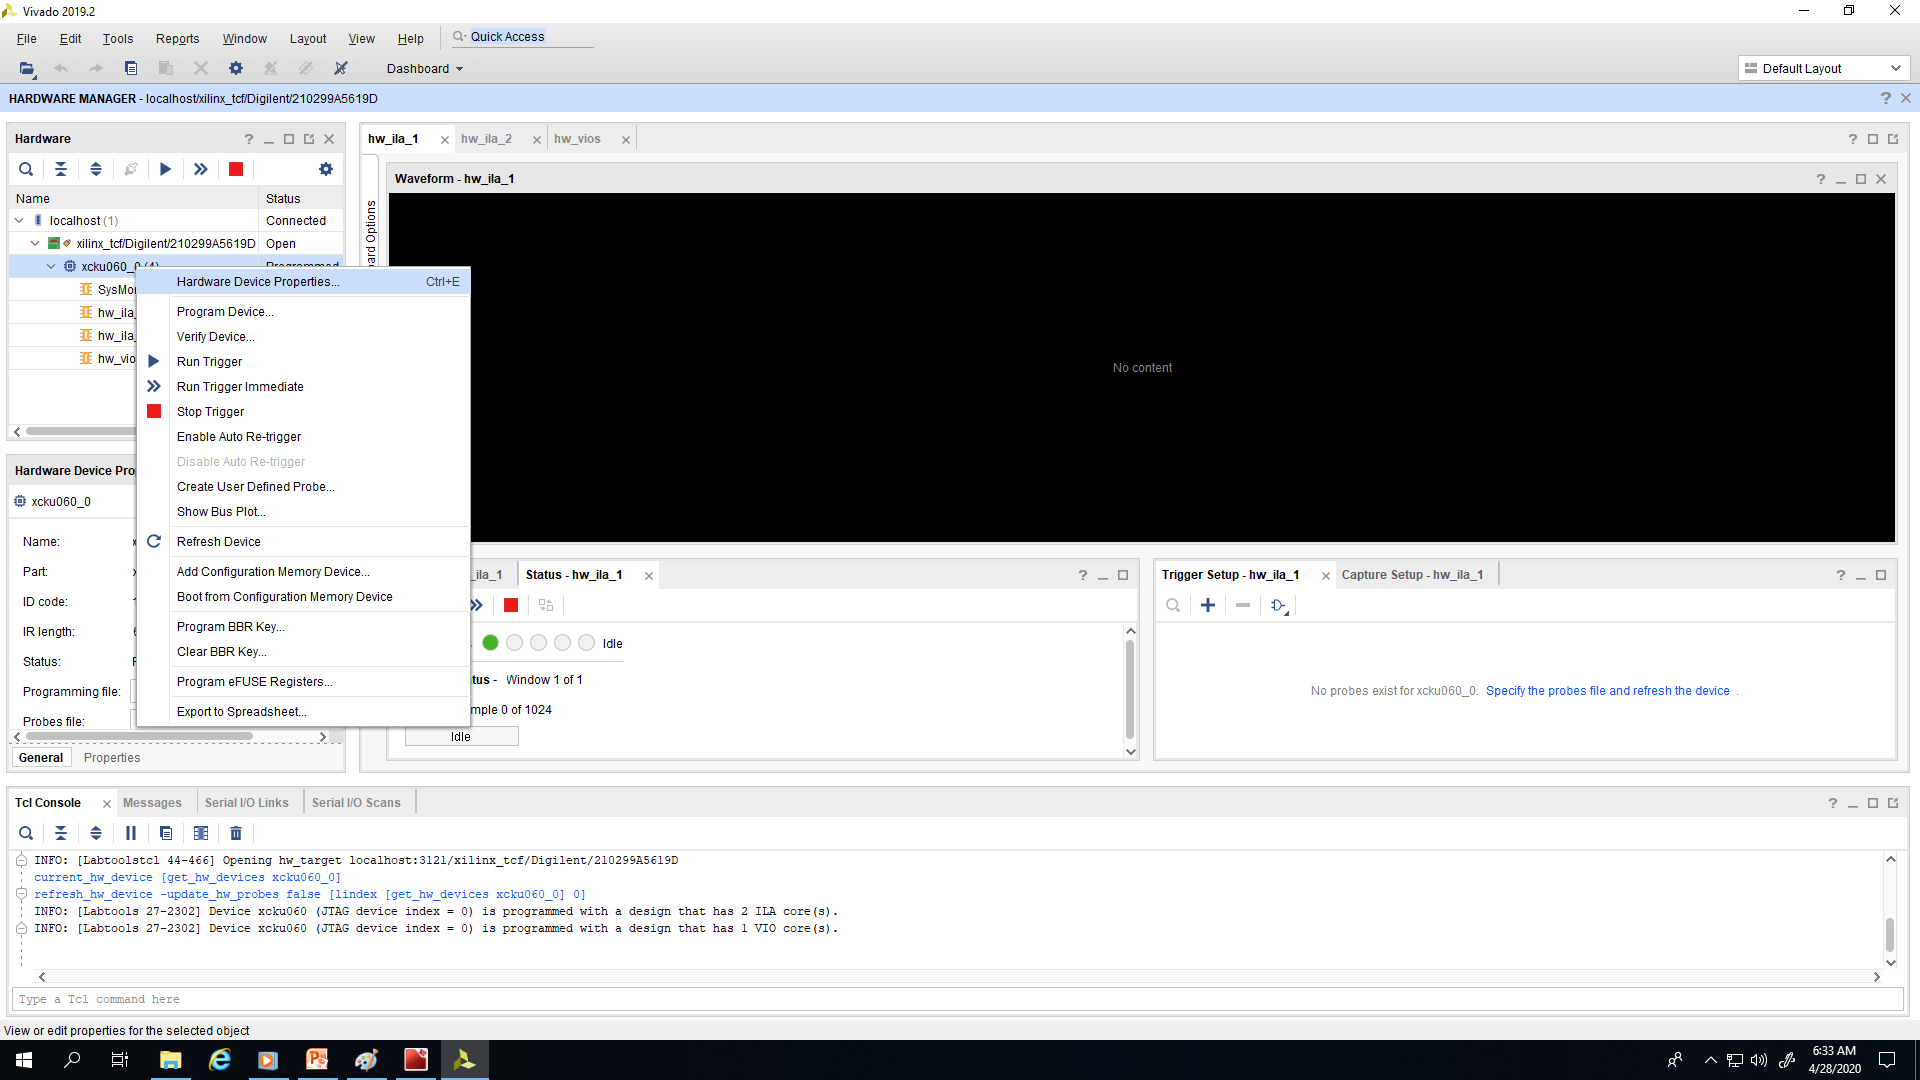 Figure 7-9 Select Device
Navigate to C:\AlphaData_ADC12DJ3200_Demo and select the file “alpha-data-samples.bit”.
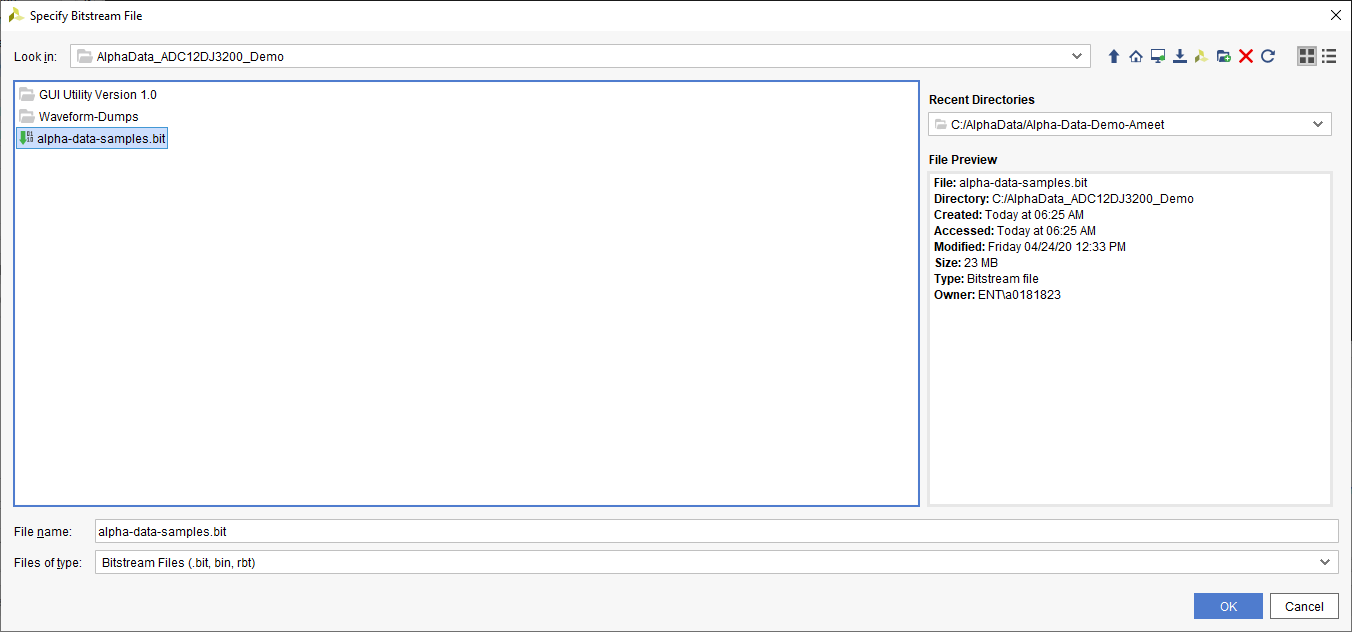 Figure 7-10 Navigate to bit File Location
Click the Program button to complete the FPGA configuration with the bitfile.
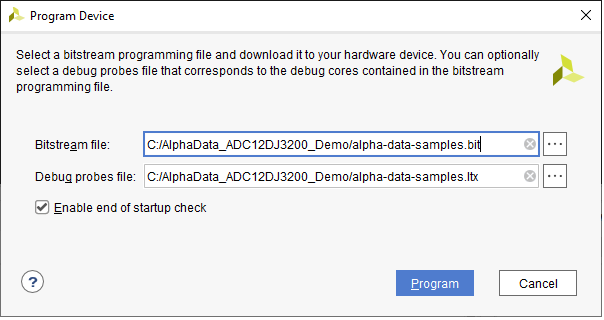 Figure 7-11 Program Device With the bit File
In the Vivado TCL console, execute the following:
- cd c:/AlphaData_ADC12DJ3200_Demo
- source setup_new.txt
Switch back to the ADC12DJ3200EVM-CVAL GUI.
Navigate to the JESD204B tab and click on the JSYNC_N Sync Request button (it should now be off, as Figure 7-12 shows).
Switch back to the Vivado setup.
In the Vivado TCL console, execute the following:
cd c:/AlphaData_ADC12DJ3200_Demo
source capture_new.txt
The FPGA will now be doing continuous captures of the ADC data.
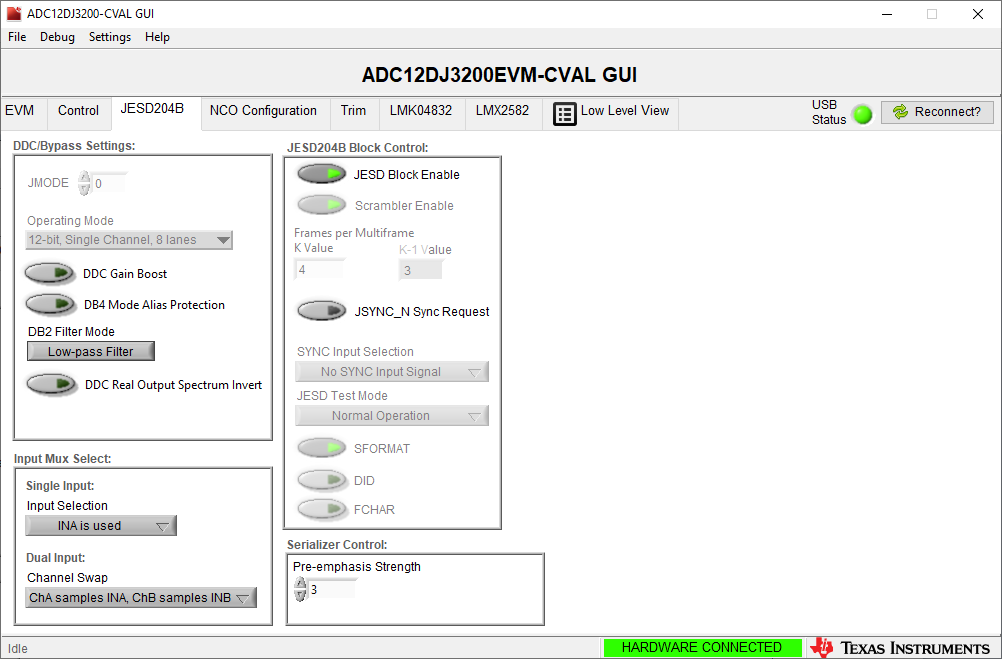 Figure 7-12 Send SYNC High to ADC