SLLU373 November 2023
2.4 Connection Details
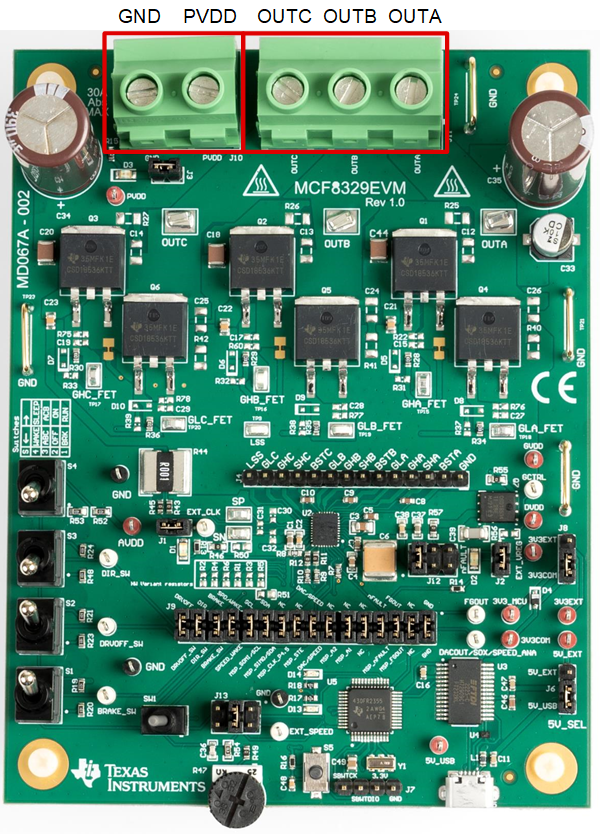
Figure 3-3 outlines which connections must be made to the MCF8329EVM in order to spin a 3-phase sensorless brushless-DC motor.
Connect a 4.5-V to 60-V power supply to the PVDD and GND terminals on connector J10.
Connect the three phases of the BLDC motor to the A, B, and C terminals of the screw terminal connector J11.
 Figure 2-3 Connections from Motor to MCF8329EVM
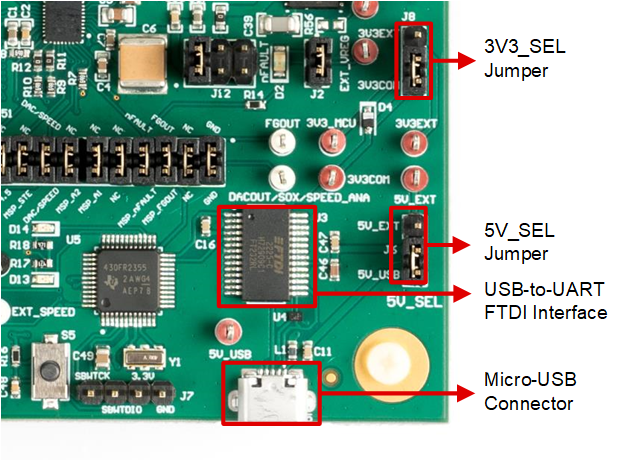
Figure 3-4 shows where the micro-USB cable is plugged into the MCF8329EVM to provide communication between evaluation module and GUI. The USB data and 5 V power from the USB is converted, by the FTDI chip, into UART data and 3.3 V power which is used to power the MSP430FR2355 microcontroller. The 5 V from the USB power is limited to 500 mA and the 3.3 V from the FTDI chip is limited to 30 mA. If the user wants to supply more current to these rails, then use the 5V_SEL jumper J6 and 3V3_SEL jumper J8 to connect external power rails.
 Figure 2-4 Micro-USB connector and USB-to-UART interface