SLUUCD4 April 2021 TPS92682-Q1
- Trademarks
- General Texas Instruments High Voltage Evaluation (TI HV EMV) User Safety Guidelines
- 1Description
- 2REACH Compliance
- 3Performance Specifications
- 4Performance Data and Typical Characteristic Curves
- 5Schematic, PCB Layout, and Bill of Materials
- 6Software
- 7TPS92682EVM-125 Power UP and Operation
6.1 Demonstration Kit Software Installation for MSP-EXP432E401Y LaunchPad Board
- Right-click on TPS92682 LaunchPad Evaluation Software Installer.exe and select Run As Administrator.
- Windows Account Control asks to allow the program to make changes to the computer. Click Yes.
- Select Agree to the installation license terms and install in the recommended location.
- Installation may take a while, as it may need to install Microsoft .NET Framework.
- If the installer asks to reboot after installing Microsoft .NET, click restart later to complete the driver installation.
- After running the TPS92682 LaunchPad Evaluation Software Installer.exe, the evaluation software window appears as shown in Figure 6-1.
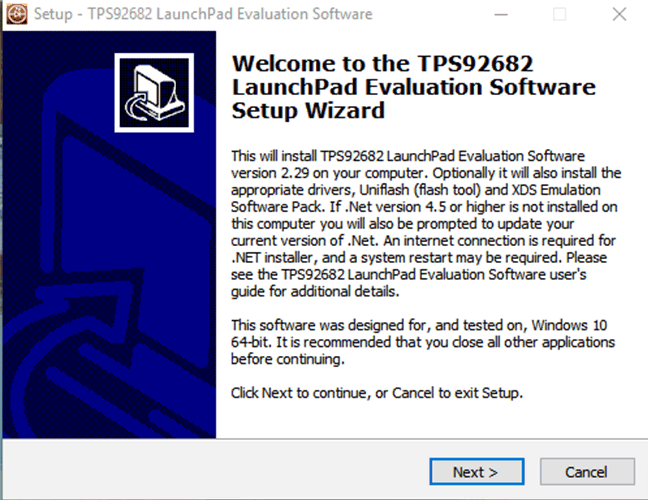 Figure 6-1 Setup Screen 1
Click Next > to install.
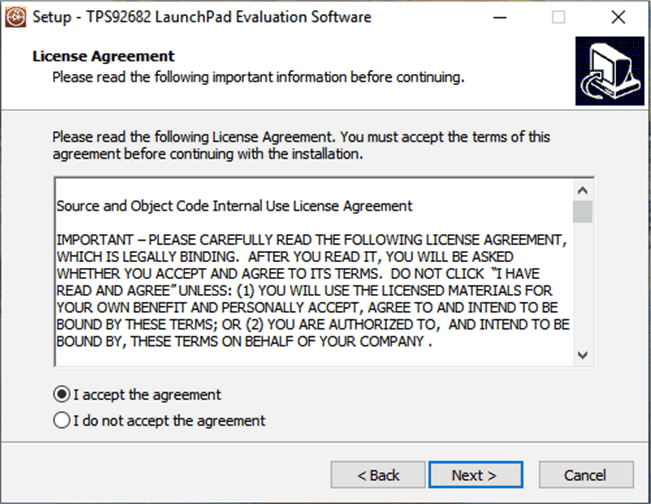 Figure 6-2 Setup Screen 2
Click Next > to accept the License Agreement.
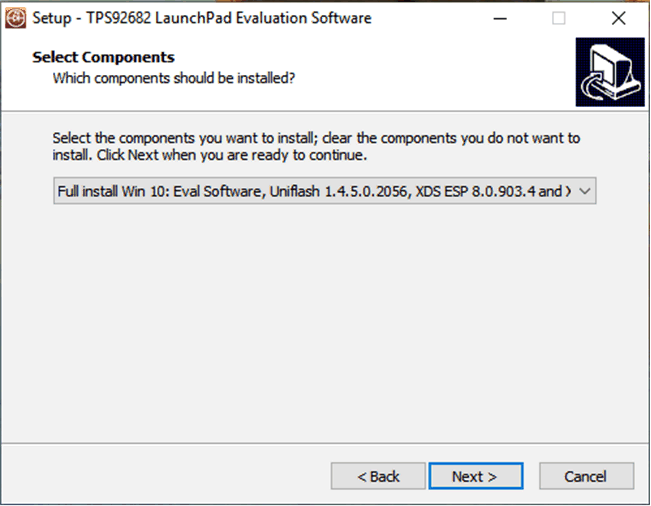 Figure 6-3 Setup Screen 3
Select Full Install and click Next > to install the evaluation software, the UniFlash, and the required XDS drivers. Full installation for both Windows 10 and 7 are provided.
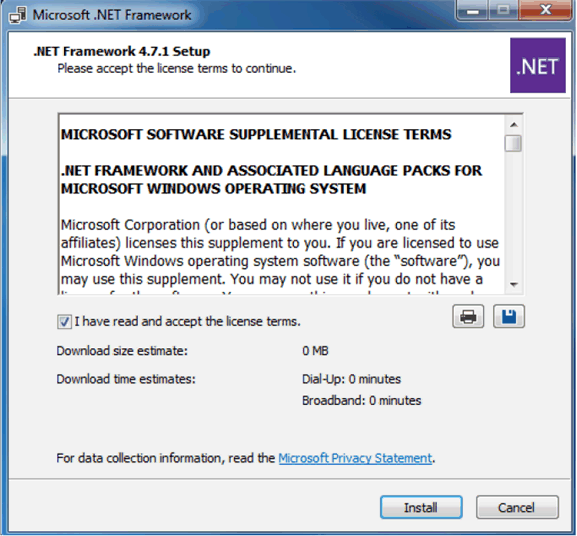 Figure 6-4 Setup Screen 4
If .NET Framework 4.5 or higher does not exist on the computer, the .NET Framework installation begins. Installation of .NET Framework will take several minutes. If .NET Framework 4.5 or higher exists on the computer, the installation jumps to the XDS driver installation.
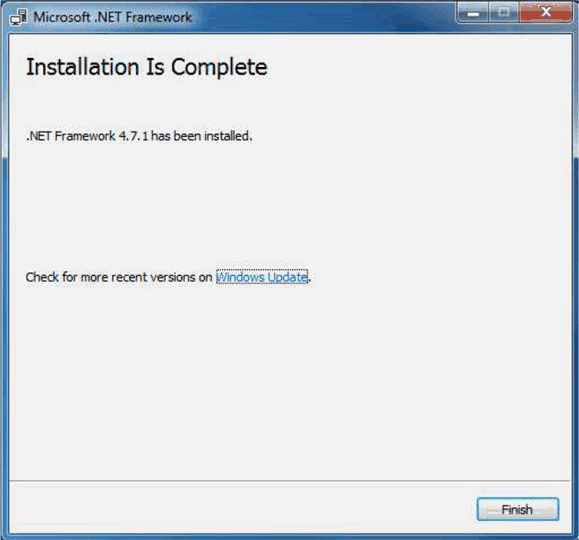 Figure 6-5 Setup Screen 5
A window appears indicating the completion of the .NET Framework installation.
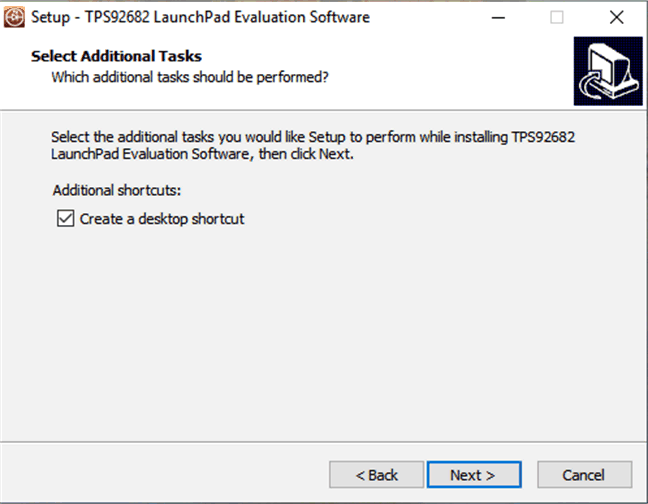 Figure 6-6 Setup Screen 6
Click Next > to continue the installation.
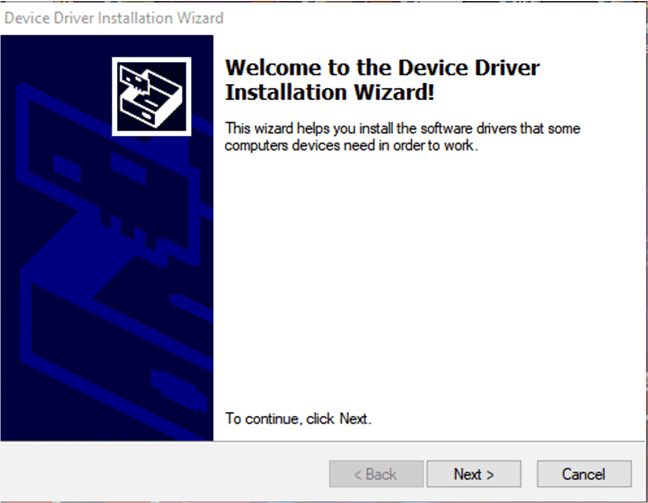 Figure 6-7 Setup Screen 7
Click Next > to install the XDS driver.
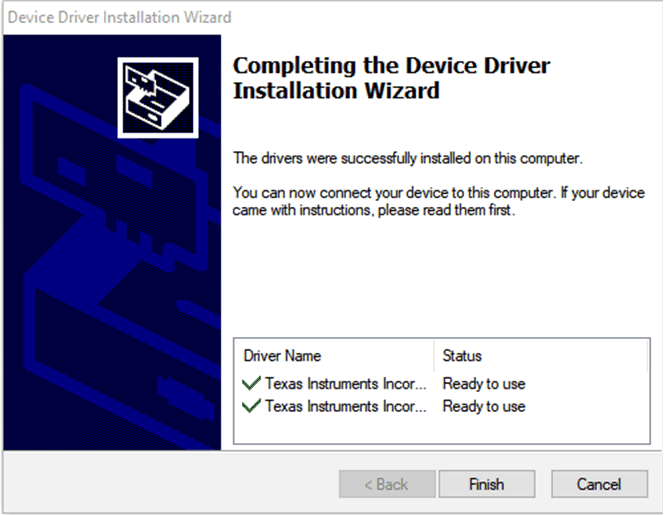 Figure 6-8 Setup Screen 8
The completion of the XDS driver installation is shown in Figure 6-8.
The TI-Emulators installation starts at this point. This will install the necessary drivers for running the application. In the next few steps as shown in Figure 6-9, Figure 6-10 and Figure 6-11 click Next > to perform the installation.
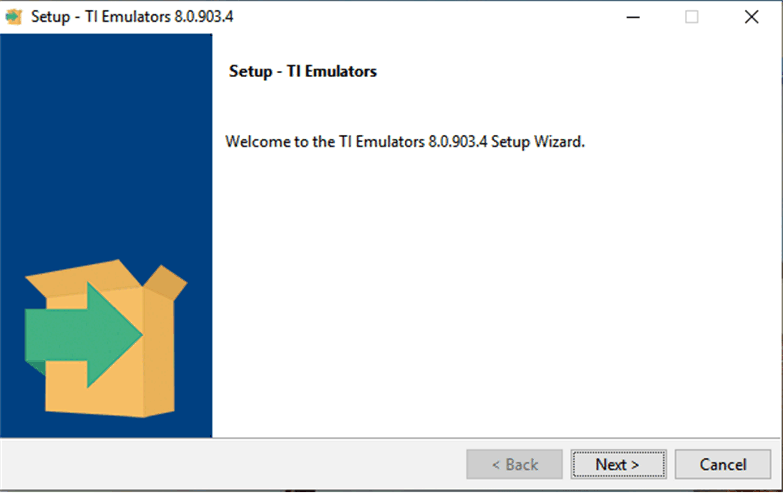 Figure 6-9 Setup Screen 9
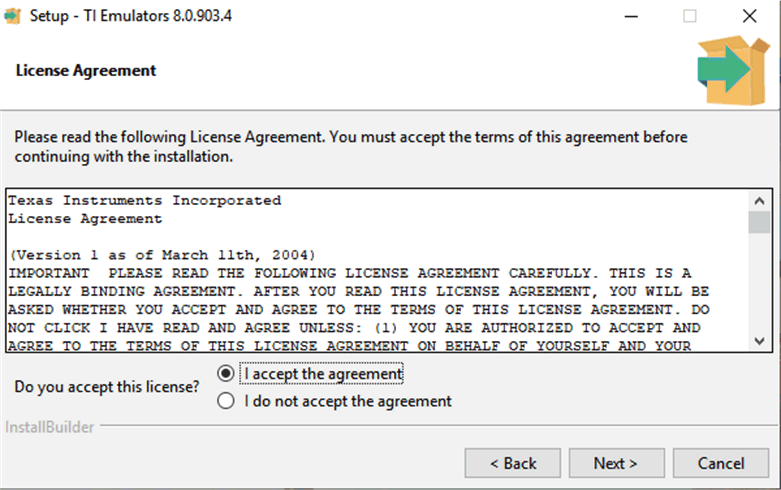 Figure 6-10 Setup Screen 10
Accept the license agreement in Figure 6-10.
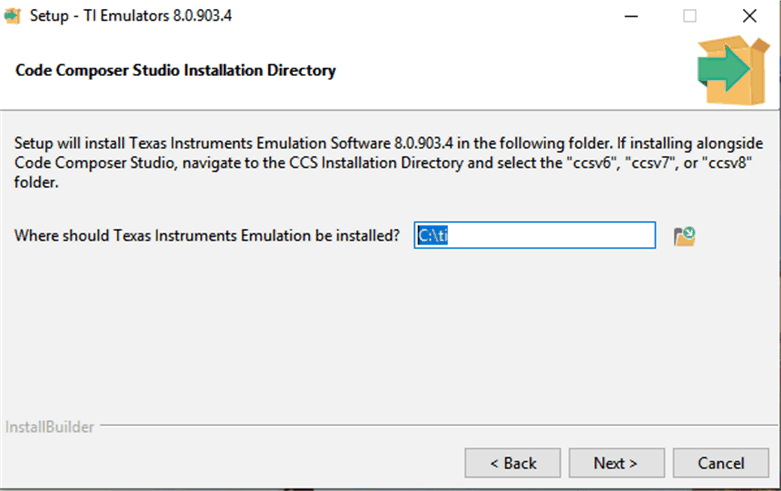 Figure 6-11 Setup Screen 11
In the next few windows click Next >, and if prompted by Windows Security about software installation as shown in Figure 6-12, select Install.
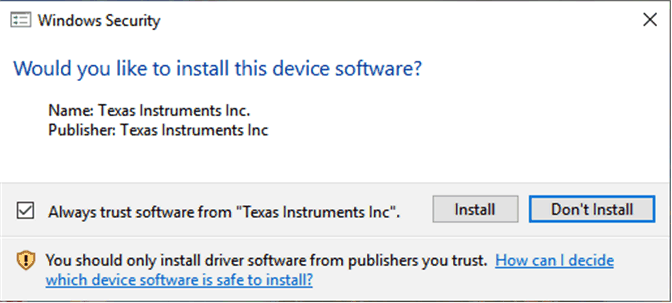 Figure 6-12 Setup Screen 12
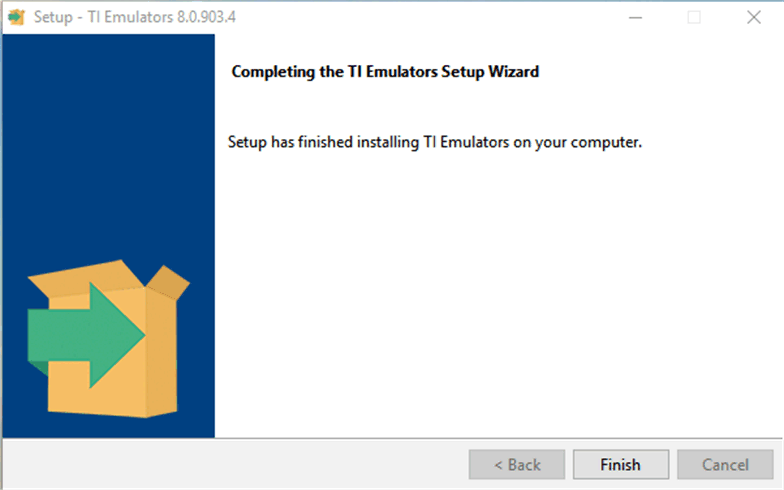 Figure 6-13 Setup Screen 13
The screen showing the completion of the TI Emulators installation is shown in Figure 6-13. Click Finish to move to the next step.
The UniFlash installation starts at this point. UniFlash is required to program the LaunchPad. In the next few steps as shown in Figure 6-14, Figure 6-15 and Figure 6-16 click Next > to start the installation.
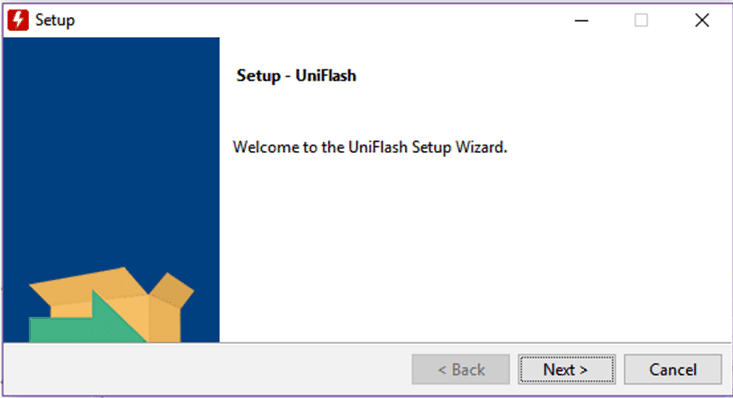 Figure 6-14 Setup Screen 14
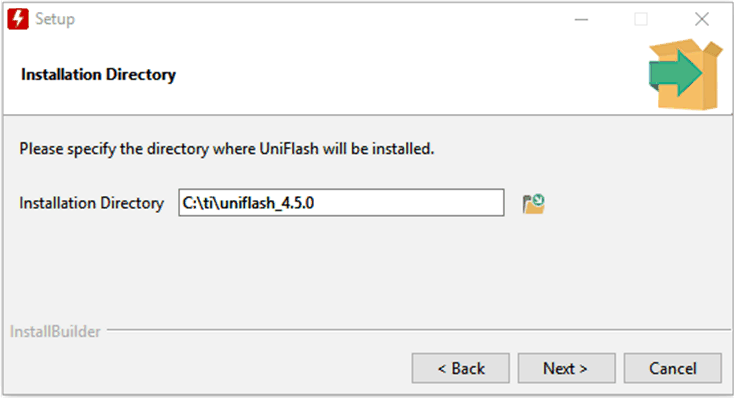 Figure 6-15 Setup Screen 15
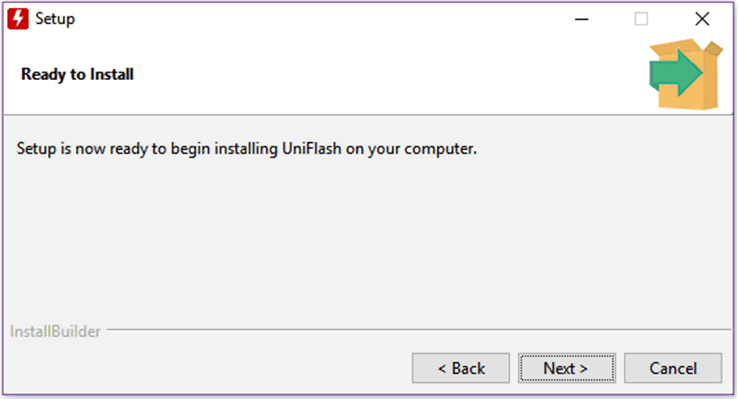 Figure 6-16 Setup Screen 16
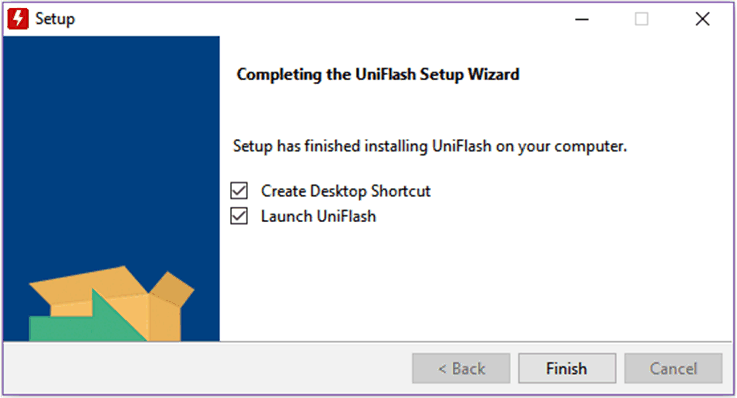 Figure 6-17 Setup Screen 17
When UniFlash installation completes, click Finish to launch the UniFlash and program the LaunchPad.
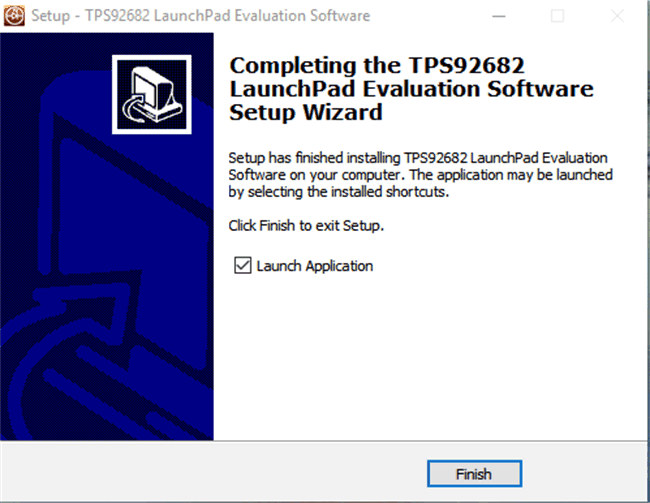 Figure 6-18 Setup Screen 18
Figure 6-18 shows the completion notification of the TPS92682-Q1 Evaluation Software. Deselect the Launch Application and click Finish.