SLVUCF6 july   2023


  1.   1
  2.   Abstract
  3.   Trademarks
  4. 1Introduction
  5. 2Requirements
    1. 2.1 Hardware
    2. 2.2 Software
  6. 3TPS65219 Resources Overview
  7. 4EVM Configuration
    1. 4.1 Configuring the USB to I2C Adapter
    2. 4.2 Configuration Headers
    3. 4.3 Test Points
  8. 5NVM Programming
    1. 5.1 TPS65219EVM-SKT default NVM settings
    2. 5.2 NVM programming in Initialize State
    3. 5.3 NVM programming in Initialize State
  9. 6Graphical User Interface (GUI)
    1. 6.1 TPTS65219 EVM Debugging
    2. 6.2 I2C Communication Port and Adapter Debugging
    3. 6.3 Getting Started
      1. 6.3.1 Finding the GUI
      2. 6.3.2 Downloading the Required Software
      3. 6.3.3 Launching the GUI
      4. 6.3.4 Connecting to the EVM
    4. 6.4 Collateral Page
    5. 6.5 Register Map Page
    6. 6.6 NVM Configuration Page
      1. 6.6.1 NVM Fields
      2. 6.6.2 Create / Load a Custom Configuration
    7. 6.7 Sequence Configuration
    8. 6.8 NVM Programming Page
    9. 6.9 Additional Features
  10. 7Schematics, PCB Layouts, and Bill of Materials
    1. 7.1 TPS65219EVM-SKT Schematic
    2. 7.2 TPS65219EVM-SKT PCB Layers
    3. 7.3 TPS65219EVM-RSM Schematic
    4. 7.4 TPS65219EVM-RSM PCB Layers
    5. 7.5 Bill of Materials

Launching the GUI

After the appropriate software has been downloaded, the GUI can be launched locally from the PC application or from the TI Cloud using the Gallery. To use the TI Cloud version of the GUI, simply click anywhere in the panel, shown in Figure 6-4, that is not associated with the download or information icons.
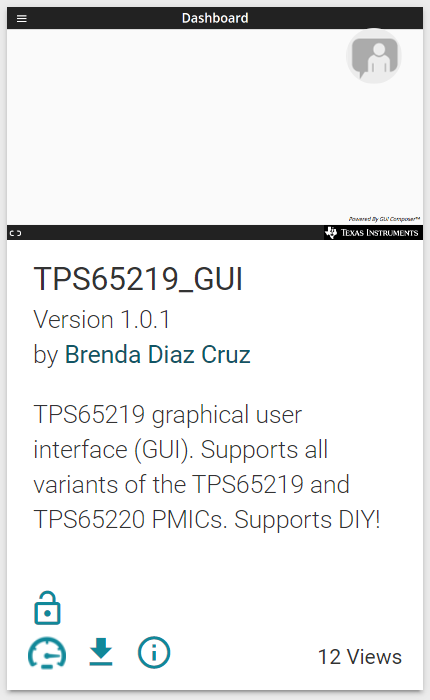
GUID-C3A4239E-9D32-4B83-83E6-CFB151039912-low.png Figure 6-4 GUI Panel Within the Gallery

Figure 6-5 shows an example of the PC application.
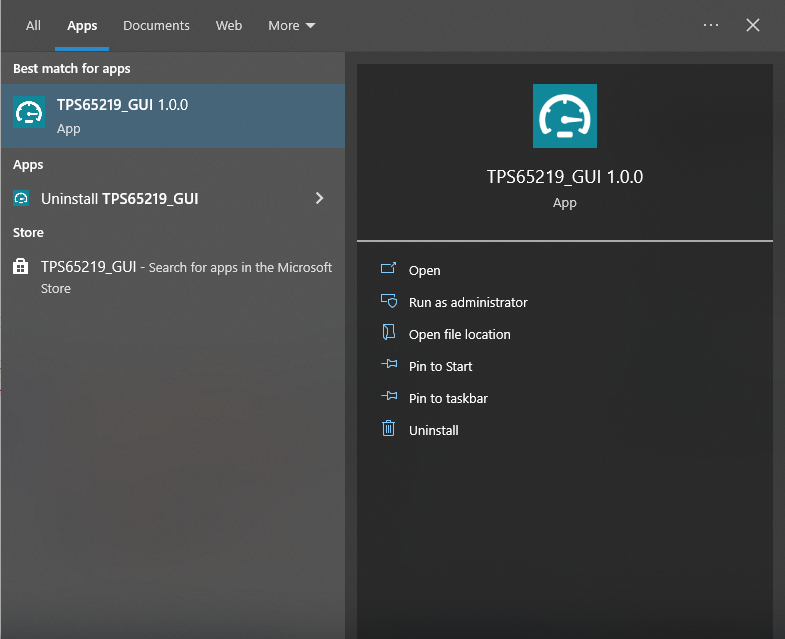
GUID-A3202631-1B36-4091-B5D9-CB98639BB0C6-low.png Figure 6-5 PMIC GUI Desktop Application