SLYU066A October 2023 – June 2024 TMAG3001
3.2.1.3.1 Initial Setup
To set up the GUI the first time, follow these steps:
- Make sure that the previously-mentioned driver was installed successfully to make sure that everything works properly.
- Plug the connected EVM and SCB unit to the PC and go to the GUI link provided earlier.
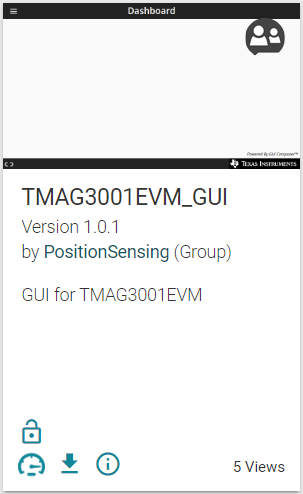
- Click the GUI Composer application window shown in Figure 4-5 to launch the GUI from the web browser.
 Figure 3-5 GUI Composer Application Window
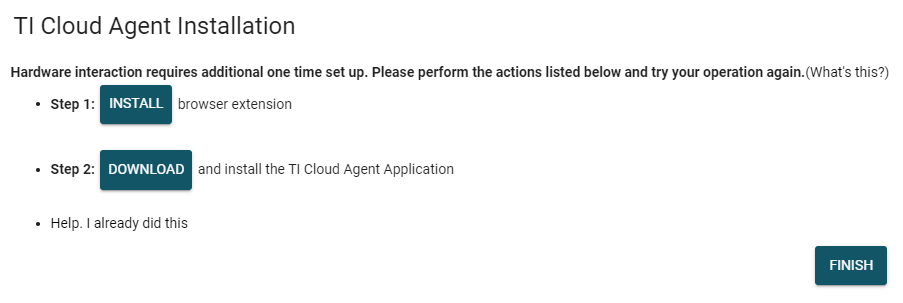
- For first-time GUI Composer setup, follow the prompts to download the TI Cloud Agent and browser extension shown in Figure 4-6. These prompts appear after you close the README.md dialog.
 Figure 3-6 TI Cloud Agent
 - Click the
 icon in the GUI Composer window shown in Figure 4-5 to download the GUI offline (optional).