SNLU131A February 2013 – June 2024
- 1
- Trademarks
- 1 DS90UH928QEVM Introduction
- 2Quick Start Guide
- 3Evaluation Hardware Overview
- 4ALP Software
- 5Related Documentation
- 6Board Schematic
- 7Bill of Materials
- 8Board Layout and Layers
- 9Revision History
4.3 Usage
Startup
Make sure all the software has been installed and the hardware is powered on and connected to the PC. Execute Analog LaunchPAD from the start menu. The default start menu location is Programs\National Semiconductor Corp\Analog LaunchPAD vx.x.x\Analog LaunchPAD.
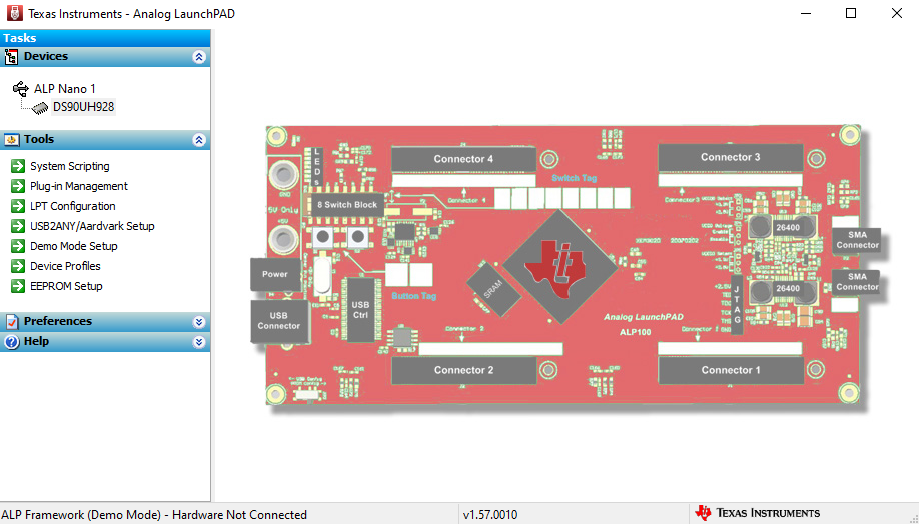
The application comes up in the state shown below. If the application does not, then see Section 4.4. Under the Devices tab click on DS90UH928Q to select the device and open up the device profile and the associated tabs.
 Figure 4-1 ALP
Startup Screen
 Figure 4-2 Information Tab
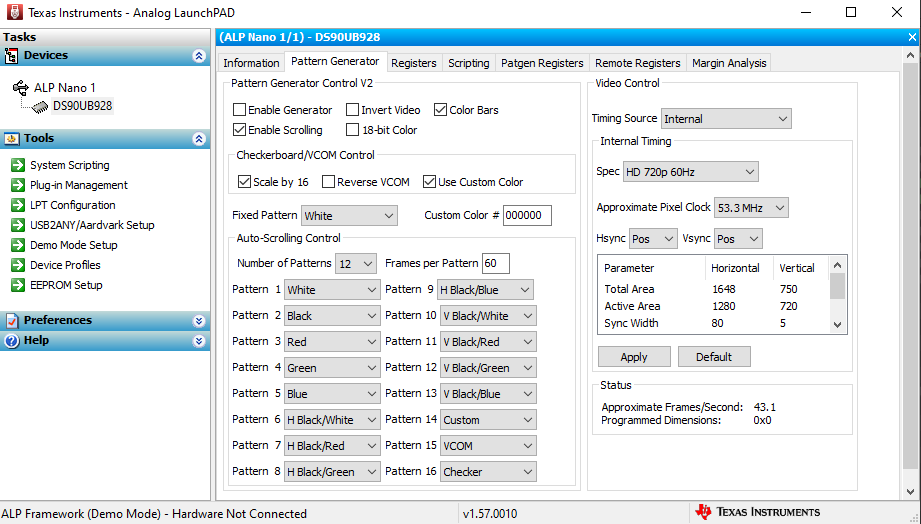
 Figure 4-3 Pattern
Generator Tab
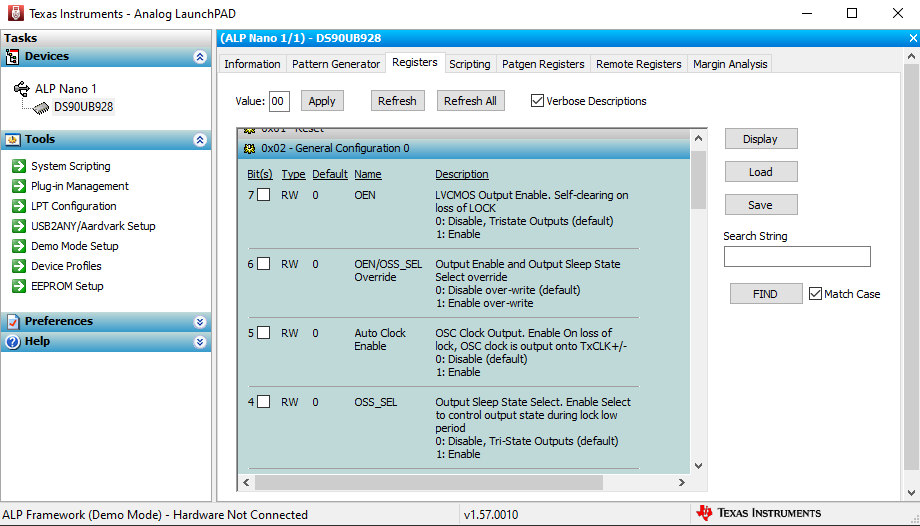
 Figure 4-4 Register
Tab
 Figure 4-5 Register
Tab with expanded register description
 Figure 4-6 Scripting Tab