SPRAD86A March 2023 – May 2024 AM62A3 , AM62A3-Q1 , AM62A7 , AM62A7-Q1 , AM67A , AM68A , AM69A
- 1
- Abstract
- Trademarks
- 1 Introduction
- 2 Tuning Overview
- 3 Hardware Requirement
- 4 Software Requirement
- 5 Sensor Software Integration
- 6 Tuning Procedure
- 7 Perform Basic Tuning
- 8 Perform Fine Tuning
- 9 Live Tuning
- 10Summary
- 11Revision History
7.7 Color Correction
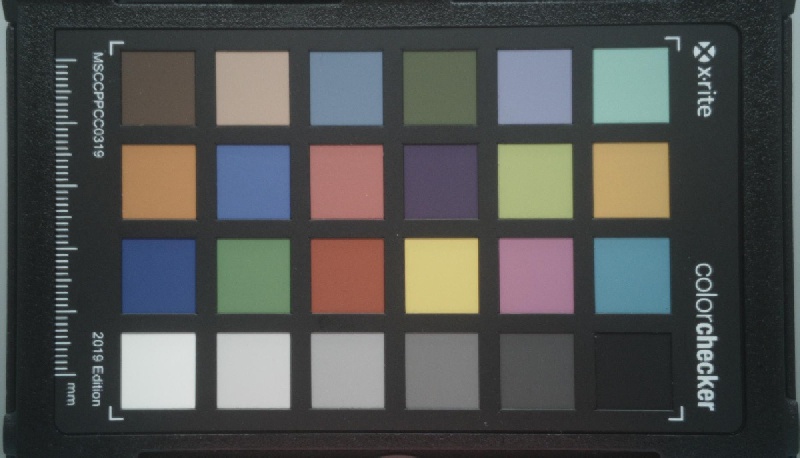
To get the correct color output, tune the Color Correction plug-in. The raw images captured for AWB tuning can be used for tuning this plug-in. Below is a summary of this tuning step. For more details, see the Color Correction plug-in guide from the help menu.
- Load an input RAW image and optionally a reference image. The tuning tool provides a default reference image, but users can use any reference image.
- Enter the parameter values and select the four corners of the color checker chart as done in AWB tuning.
- Repeat the same process for the reference image.
- Process the plug-in and Export DCC profile binary to generate XML and binary files, as shown in Figure 7-20 and Figure 7-21.
 Figure 7-20 Color Correction
Tuning
 Figure 7-21 Color Correction Tuning
Output
Figure 7-21 Color Correction Tuning
OutputAs done in AWB tuning, capture images using the newly generated DCC binaries. Figure 7-22 and Figure 7-23 show images before and after Color Correction tuning (note the corrected color in the image after Color Correction tuning).
 Figure 7-22 Image Before Color
Correction Tuning
 Figure 7-23 Image After Color
Correction Tuning