SWRU631 November   2024


  1.   1
  2.   Description
  3.   Get Started
  4.   Features
  5.   5
  6. 1Evaluation Module Overview
    1. 1.1 Introduction
    2. 1.2 Kit Contents
    3. 1.3 Specification
    4. 1.4 Device Information
  7. 2Hardware
    1. 2.1 PCB Handling Recommendations
    2. 2.2 Power Connections
    3. 2.3 Connectors
      1. 2.3.1 MIPI 60-Pin Connector (J19)
        1. 2.3.1.1 MIPI TRACE ECO List
      2. 2.3.2 Debug Connector-60 pin (J7)
        1. 2.3.2.1 CSI2 FE Connector ECO List
      3. 2.3.3 Ethernet Ports (J4 and J9)
        1. 2.3.3.1 ECOs to Enable the DP83TG720S-Q1 PHY
      4. 2.3.4 USB Connectors (J8, J10)
      5. 2.3.5 OSC_CLK_OUT Connector (J2)
      6. 2.3.6 Voltage Rails Ripple Measurement Connectors (J1, J3, J5) (DNP)
    4. 2.4 Antenna
    5. 2.5 PMIC
    6. 2.6 On-Board Sensors
    7. 2.7 PC Connection
      1. 2.7.1 XDS110 Interface
      2. 2.7.2 FTDI Interface
    8. 2.8 Connecting the AWR2E44PEVM to the DCA1000 EVM
    9. 2.9 Jumpers, Switches, and LEDs
      1. 2.9.1 Switches
      2. 2.9.2 Sense On Power (SOP) Jumpers (J17, J18, J20)
      3. 2.9.3 I2C Connections
      4. 2.9.4 Push Buttons
      5. 2.9.5 LEDs
  8. 3Software
    1. 3.1 Software, Development Tools, and Example Code
  9. 4Hardware Design Files
    1. 4.1 Design Files
  10. 5Additional Information
    1.     Trademarks
  11. 6Revision History

Hardware

AWR2E44PEVM
Note: During operation, a minimum separation distance of 20 centimeters must be maintained between the user and the EVM.
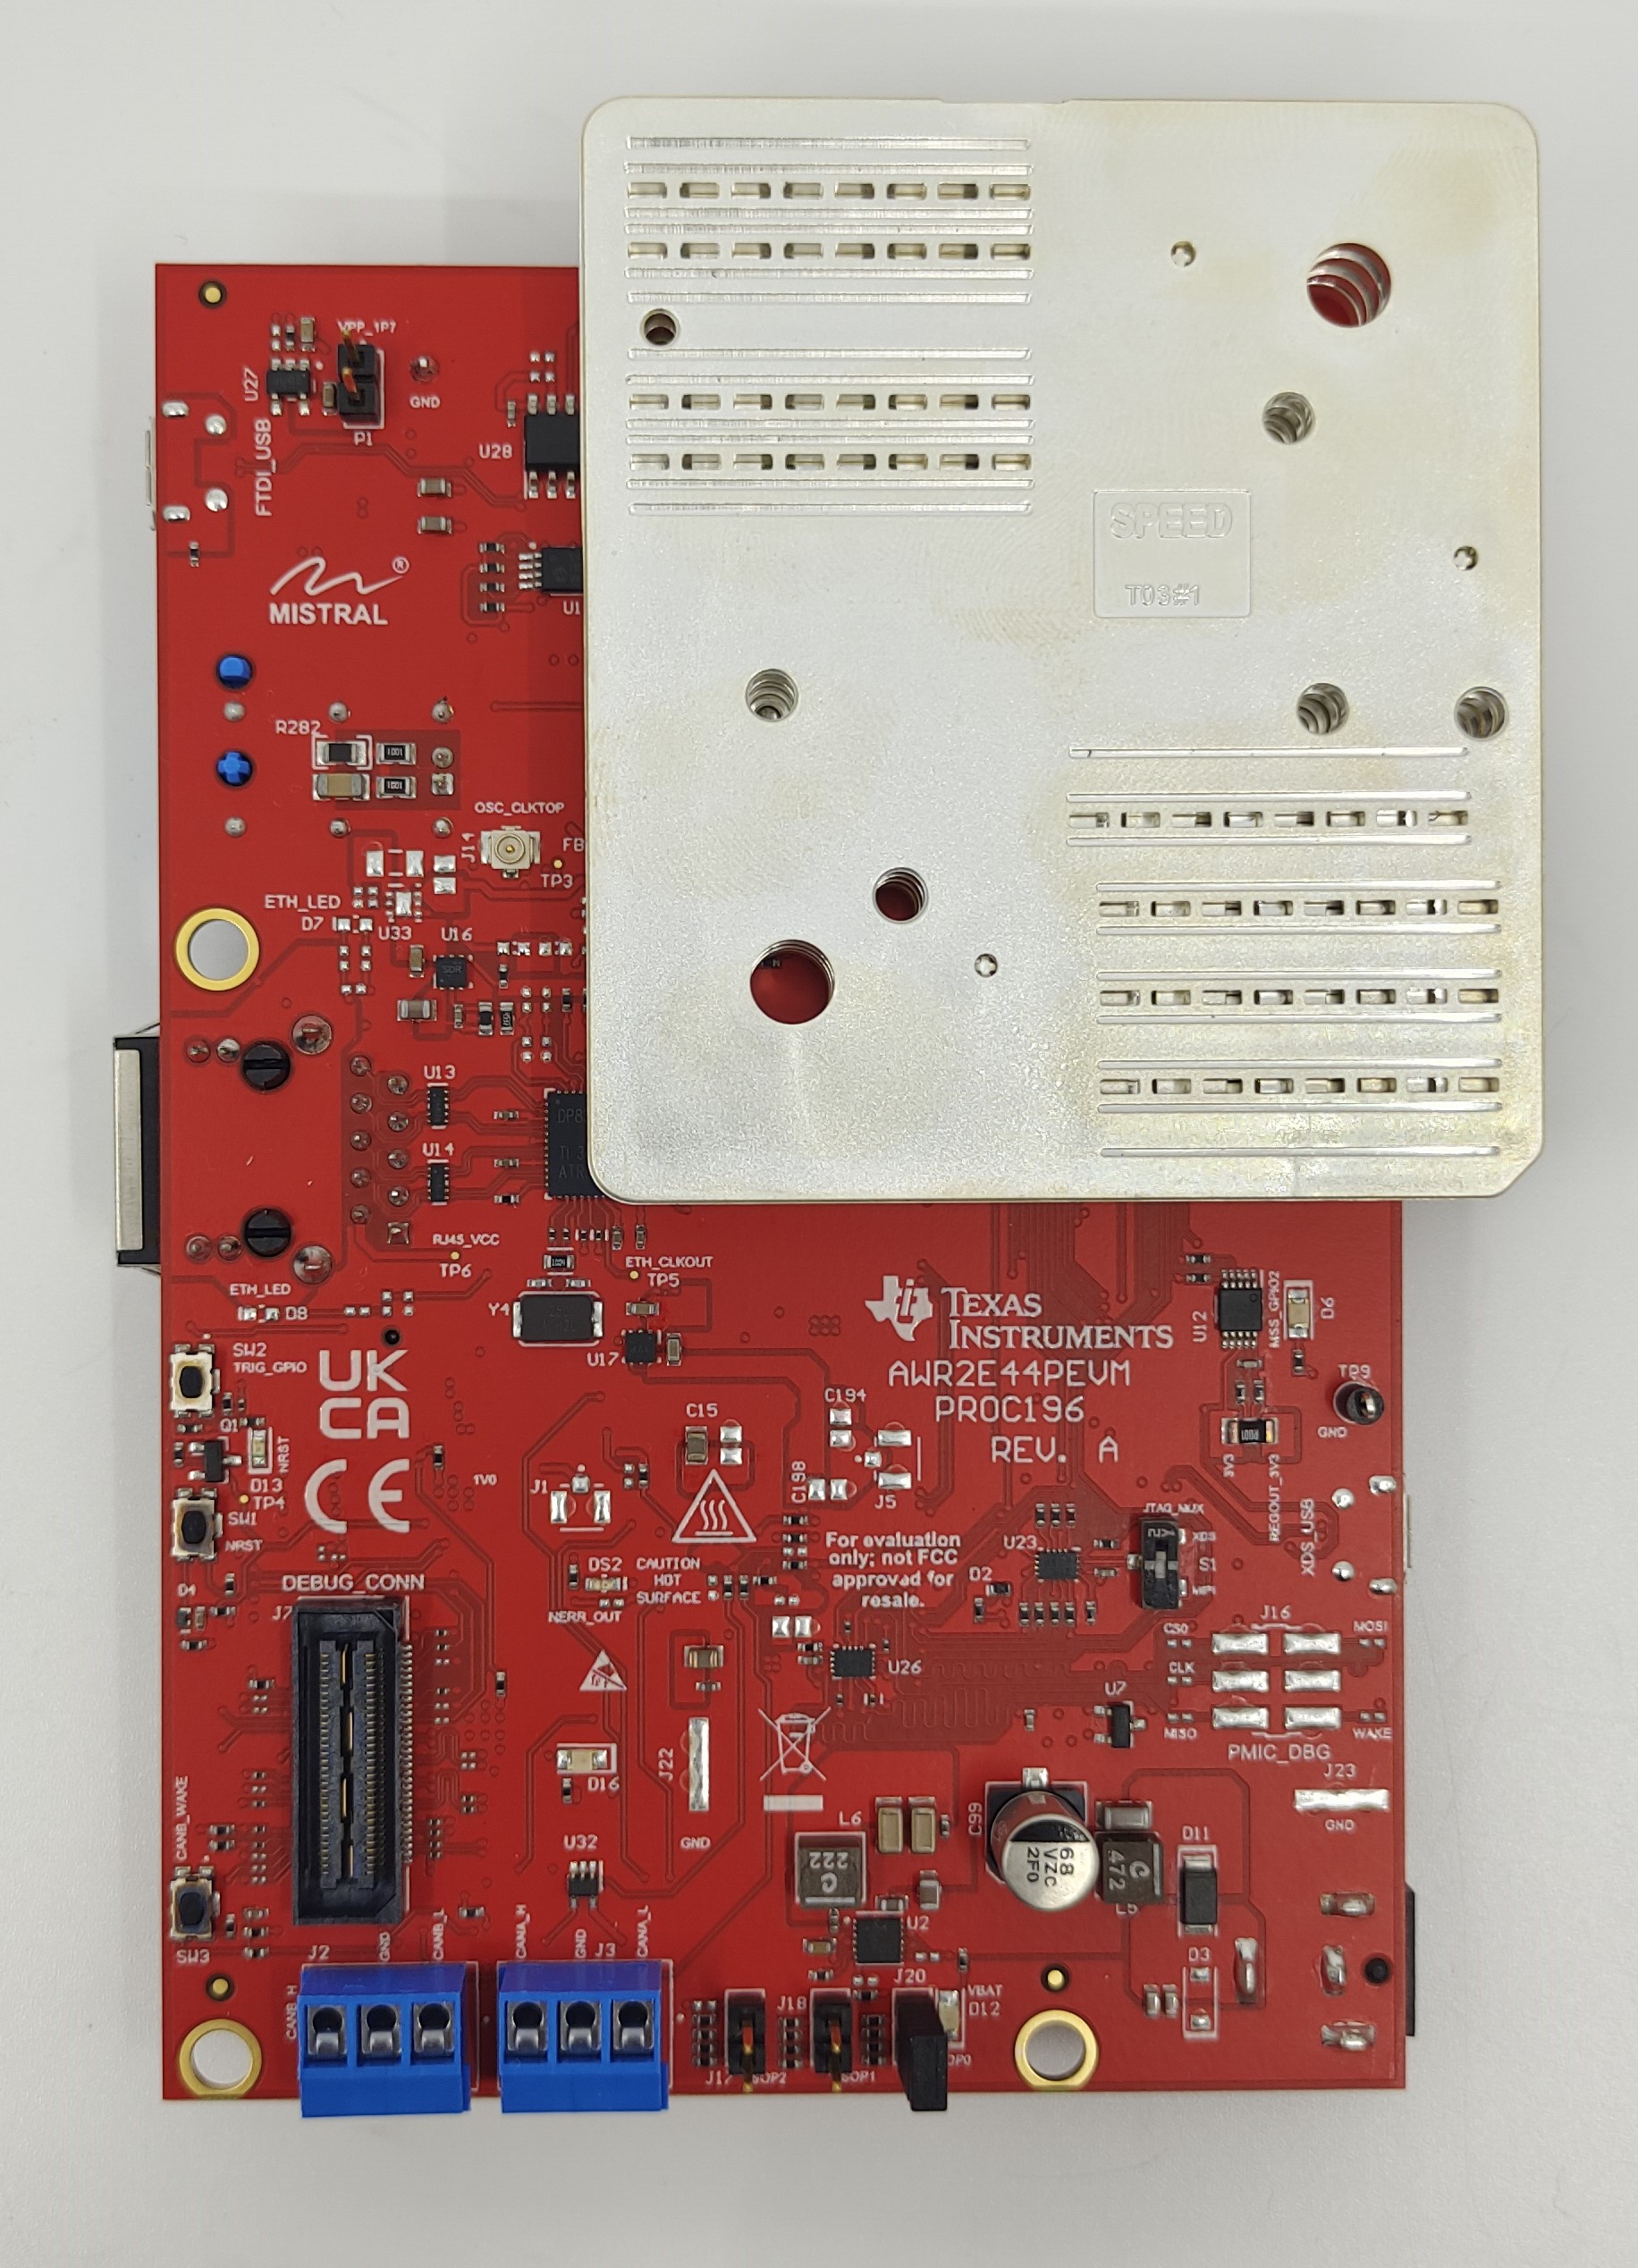
AWR2E44PEVM AWR2E44PEVM Front ViewFigure 2-1 AWR2E44PEVM Front View
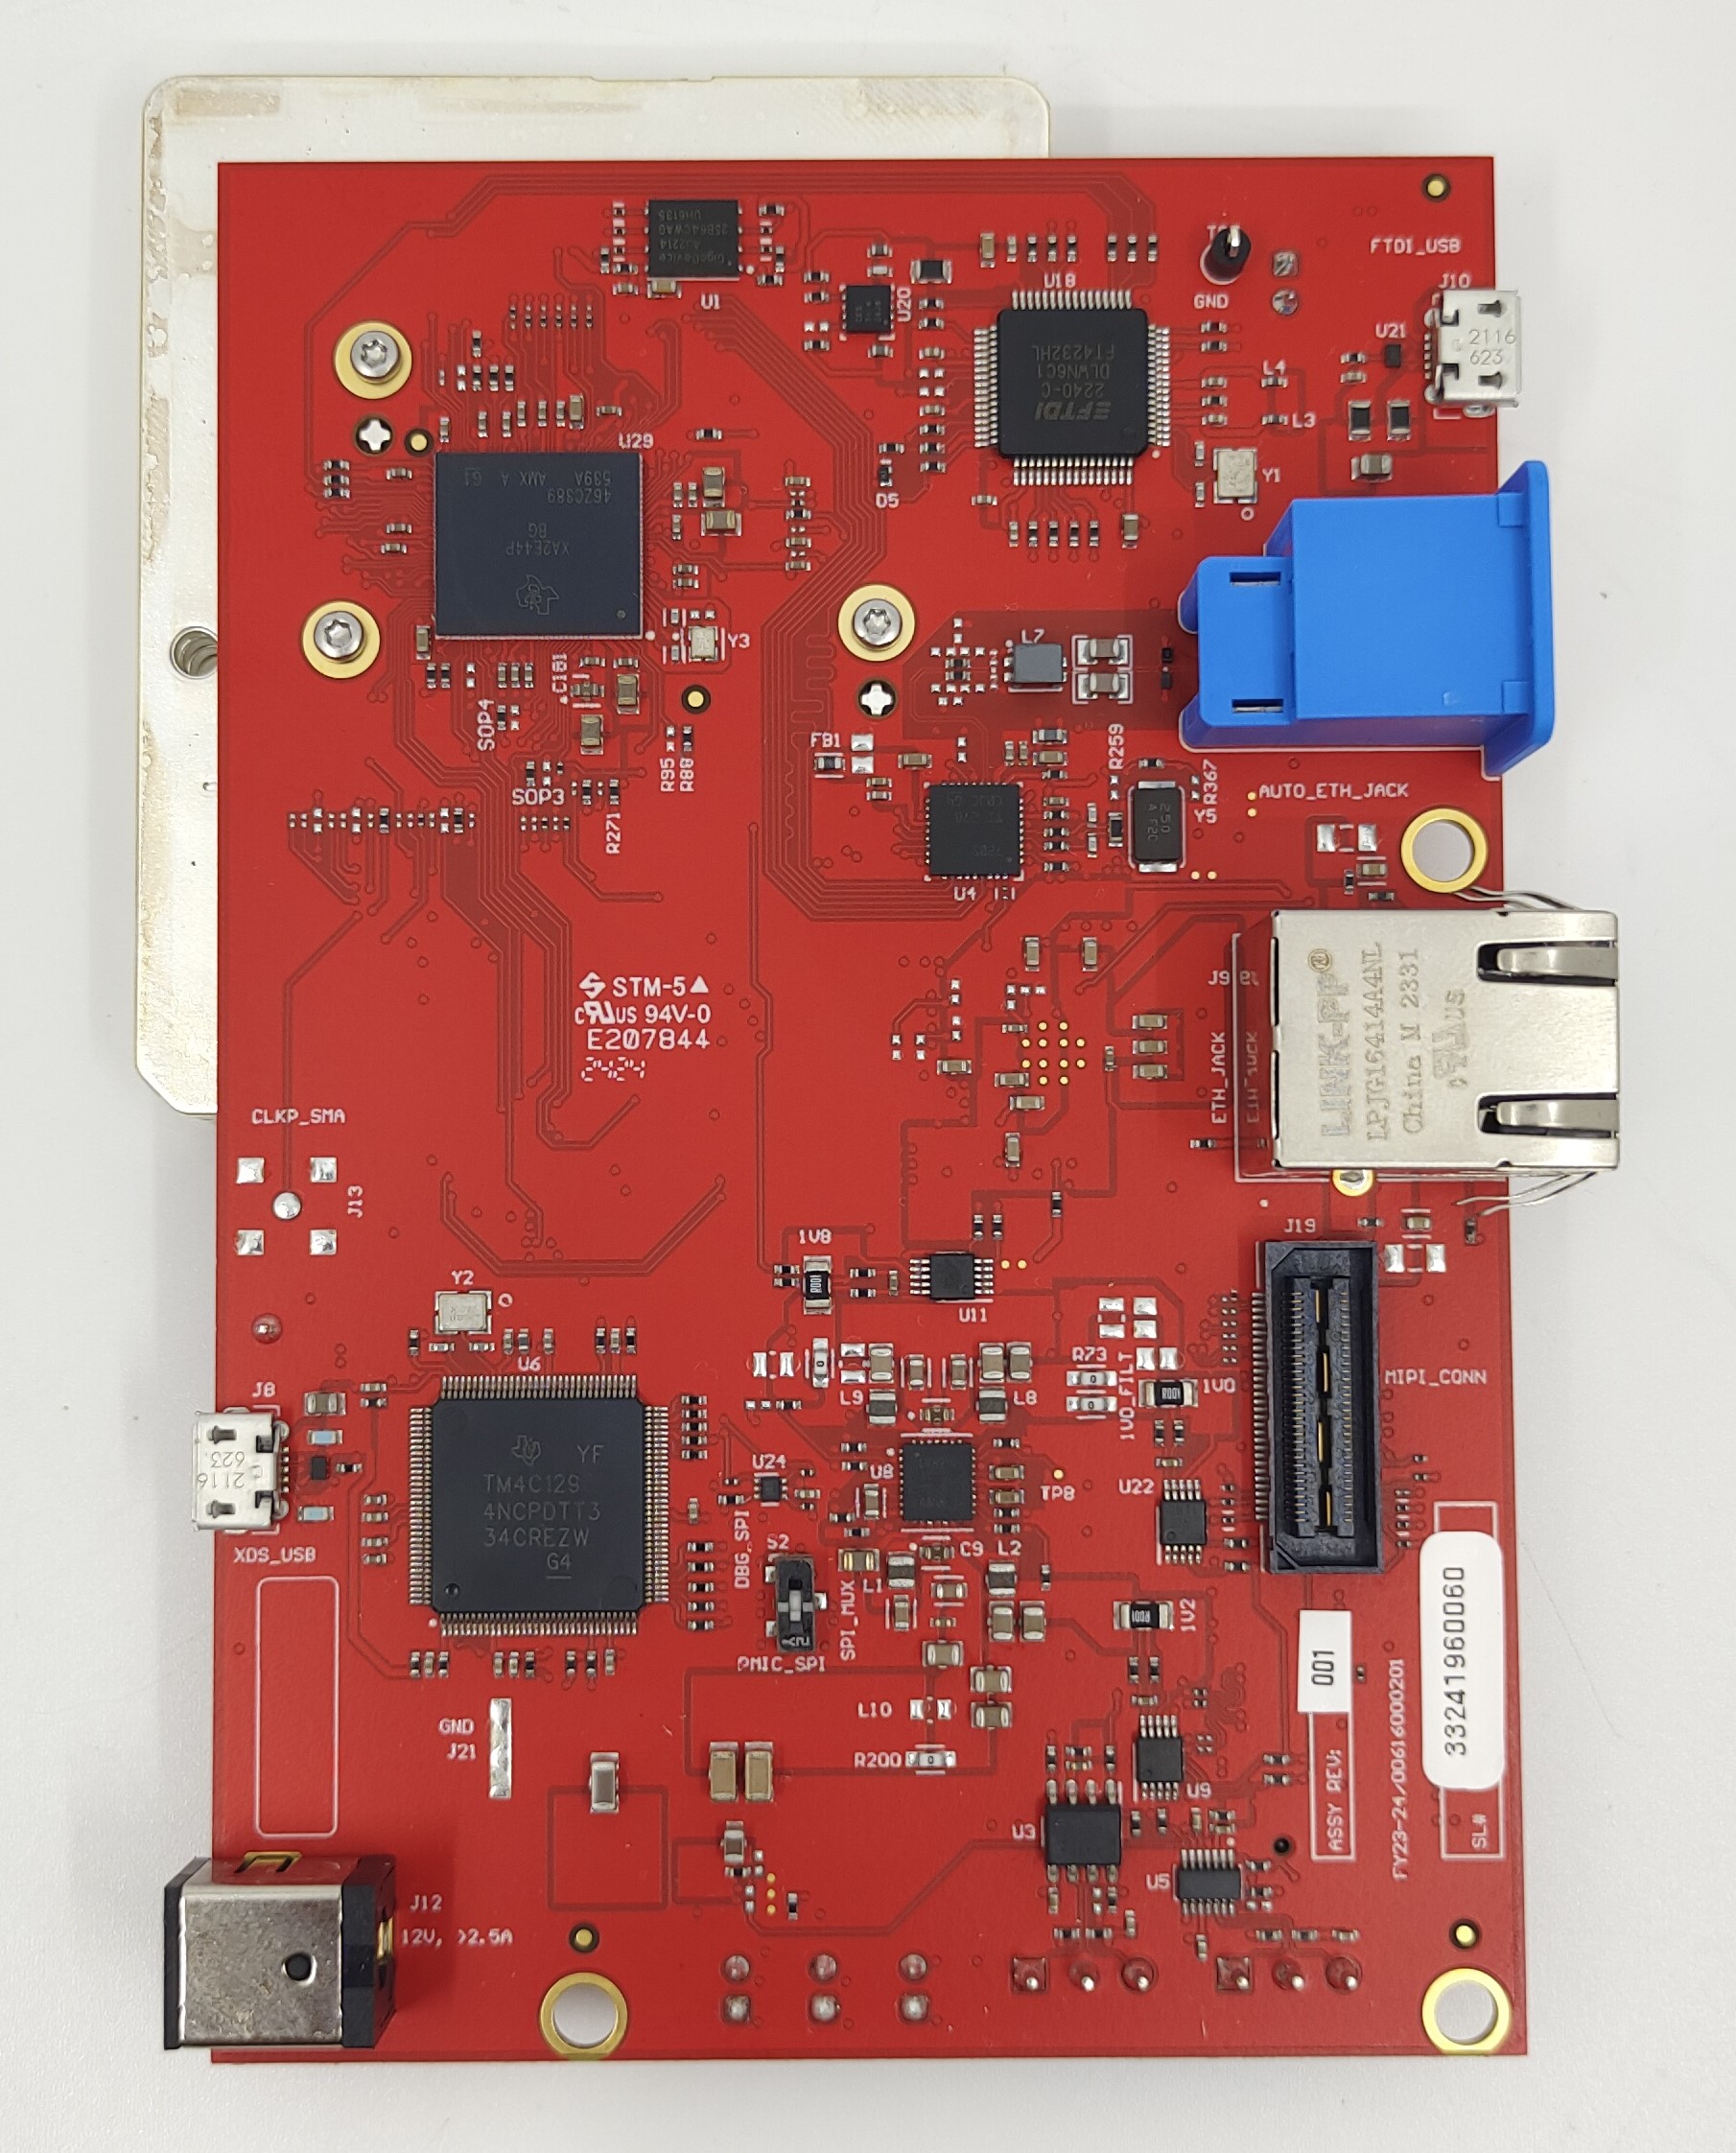
AWR2E44PEVM AWR2E44PEVM Back ViewFigure 2-2 AWR2E44PEVM Back View