TIDUCT9A January 2017 – March 2020
3.2.3.1.2.2 Software Setup
- Open CCS (version 9.3 or newer). Maximize CCS to fill the screen. Close the welcome screen if it opens up.
- On the menu bar click Project >Import CCS Project. Below the root directory, navigate to and select ..\C2000Ware_DigitalPower_SDK_X_XX_XX_XX\solutions\tidm_1001\f28002x\llc directory. Make sure that below the Projects tab, 2PH_IL_LLC_F28002x is selected. Click Finish.
- 2PH_IL_LLC_F28002x project should now appear in the CCS Project Explorer window. This project will invoke all the necessary tools (compiler, assembler, and linker) to build the project. A project contains all the files and build options required to develop an executable output file (.out), which can be run on the MCU hardware.
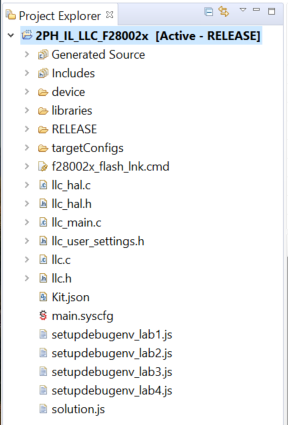
- In the project window on the left, click the arrow sign to the left of the project name.The project window will look like Figure 22.
- If not already open, double click the main.sysconfig file name in the project window.
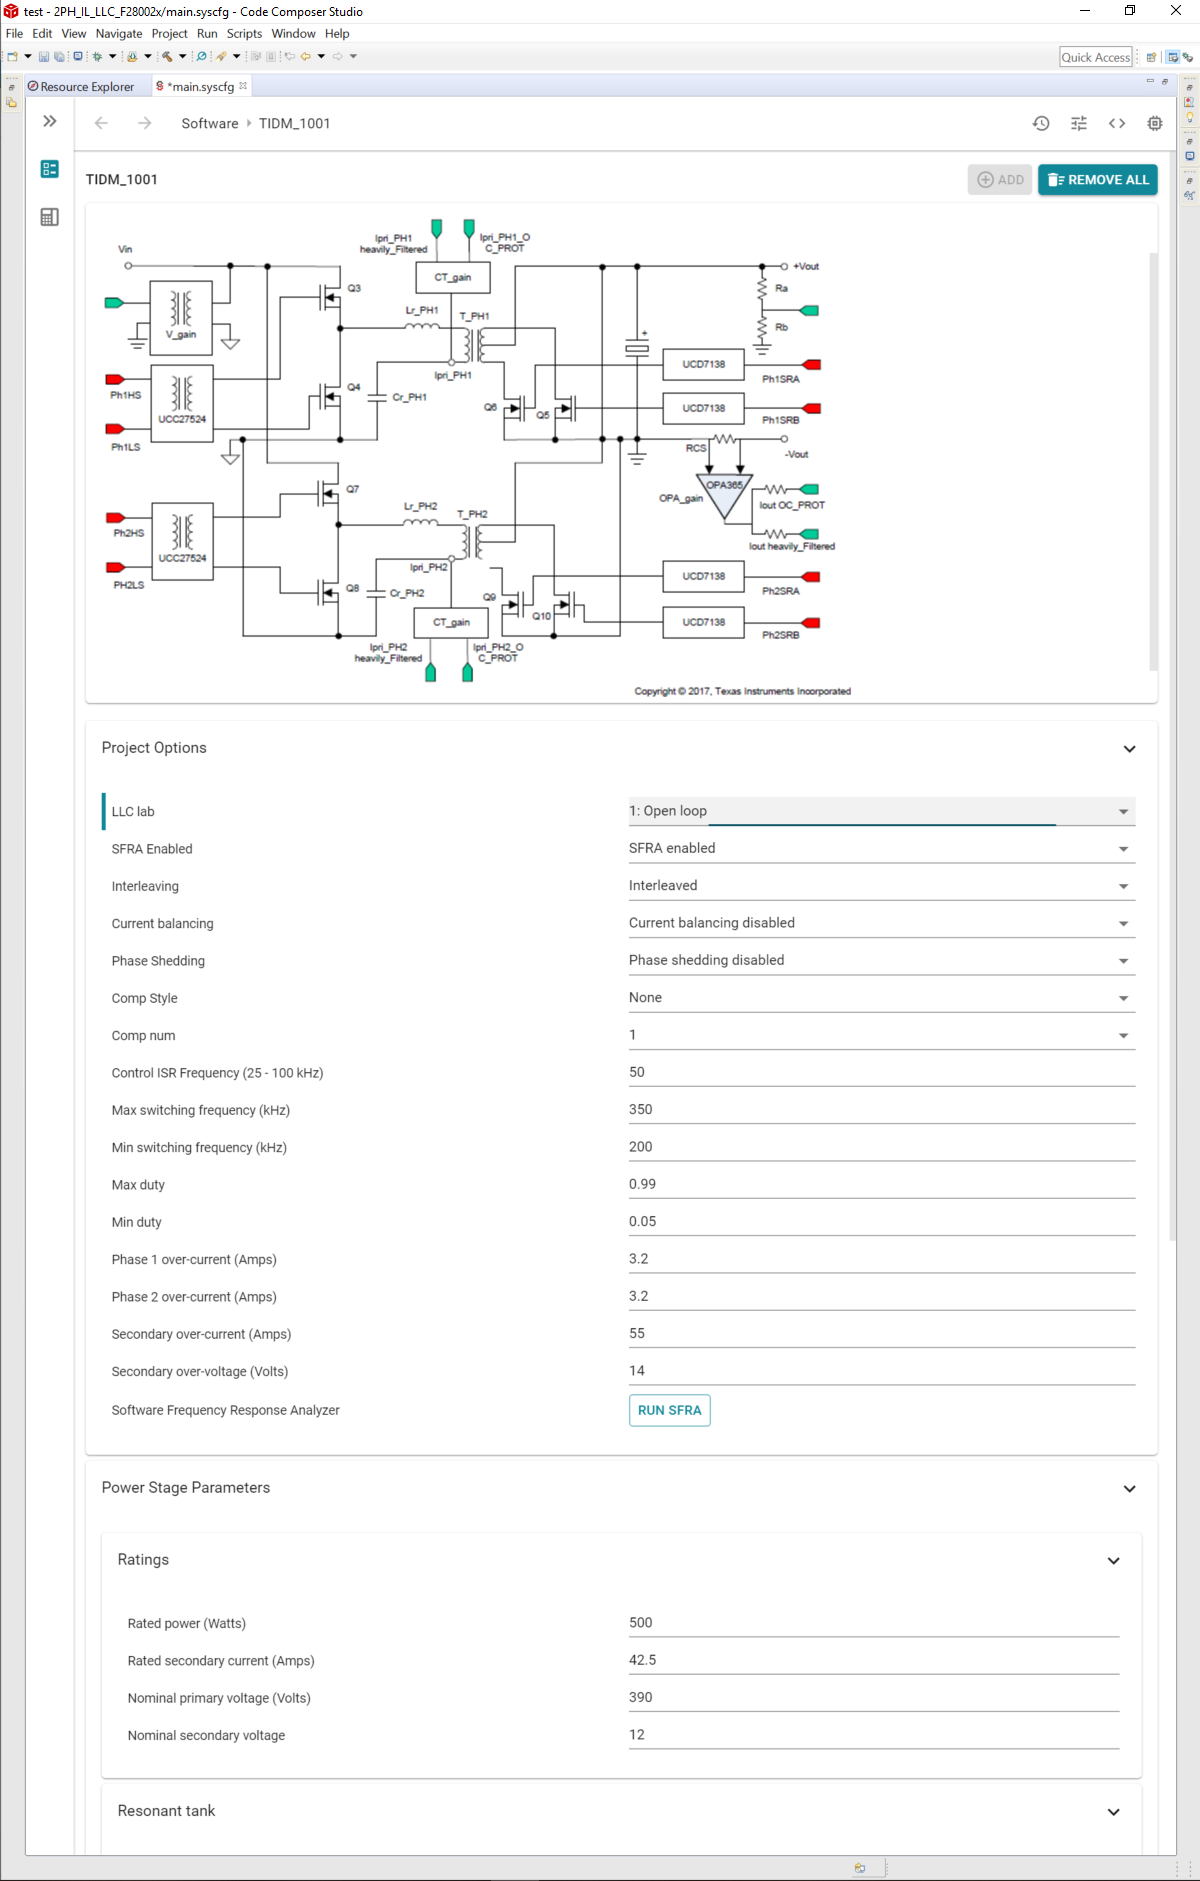
- Under Project Options select Open Loop as shown in Figure 23. Save main.syscfg file.
 Figure 22. Project Window