SLLU229 May 2022 TUSB2E11
2 EVM Quick Setup Instructions
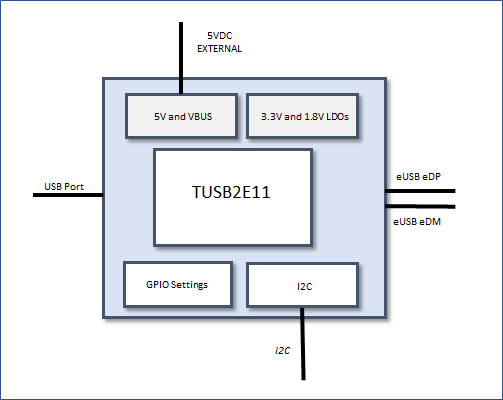
To start using the TUSB2E11EVM, the EVM requires power, a USB connection, and an eUSB2 connection:
- The TUSB2E211EVM incorporates a Micro-AB USB 2.0 port that can be used to connect the USB signals of the repeater to a standard USB host, hub, or devices. 5M cable lengths are supported.
- For eUSB2, the EVM has a pair of SMP connectors for connecting eUSB2 signals to eUSB2 SoCs or test equipment.
- Depending on the switch settings, the EVM can be powered from an external 5 V wall supply, bench power supplies, or even through the USB connector.
- The TUSB2E11EVM also incorporates an external reset push button in addition to a regular power reset circuit.
 Figure 2-1 TUSB2E11EVM Block Diagram