SNVA453B August 2011 – January 2022 LM10500
- Trademarks
- 1 LM10500 Overview
- 2 Adaptive Voltage Scaling Technology
- 3 Features
- 4 Applications
- 5 Evaluation Kit Overview
- 6 Typical Application Circuit
- 7 Connection Guide
- 8 Operation Guide
- 9 User’s GUI for LM10500 Evaluation Board
- 10Typical Performance Characteristics
- 11Evaluation Board Schematic
- 12Evaluation Board Bill of Materials
- 13Evaluation Board Layout
- 14Revision History
9.1 Quick Start Guide
- Connect the LM10500 evaluation board to the USB2PWI interface board (as in Figure 8-1) and plug the USB2PWI board to a PC using a USB cable. Apply PVIN and AVIN power to the LM10500 evaluation board. The part is enabled by default. Press the reset button on the SUB2PWI board. The reset button is the blue button located right next to the USB connector.
- Run the GUI by double clicking
‘Evaluation.exe’, with ‘Evaluation.ini’ and ‘usblptio.dll’ in the same folder,
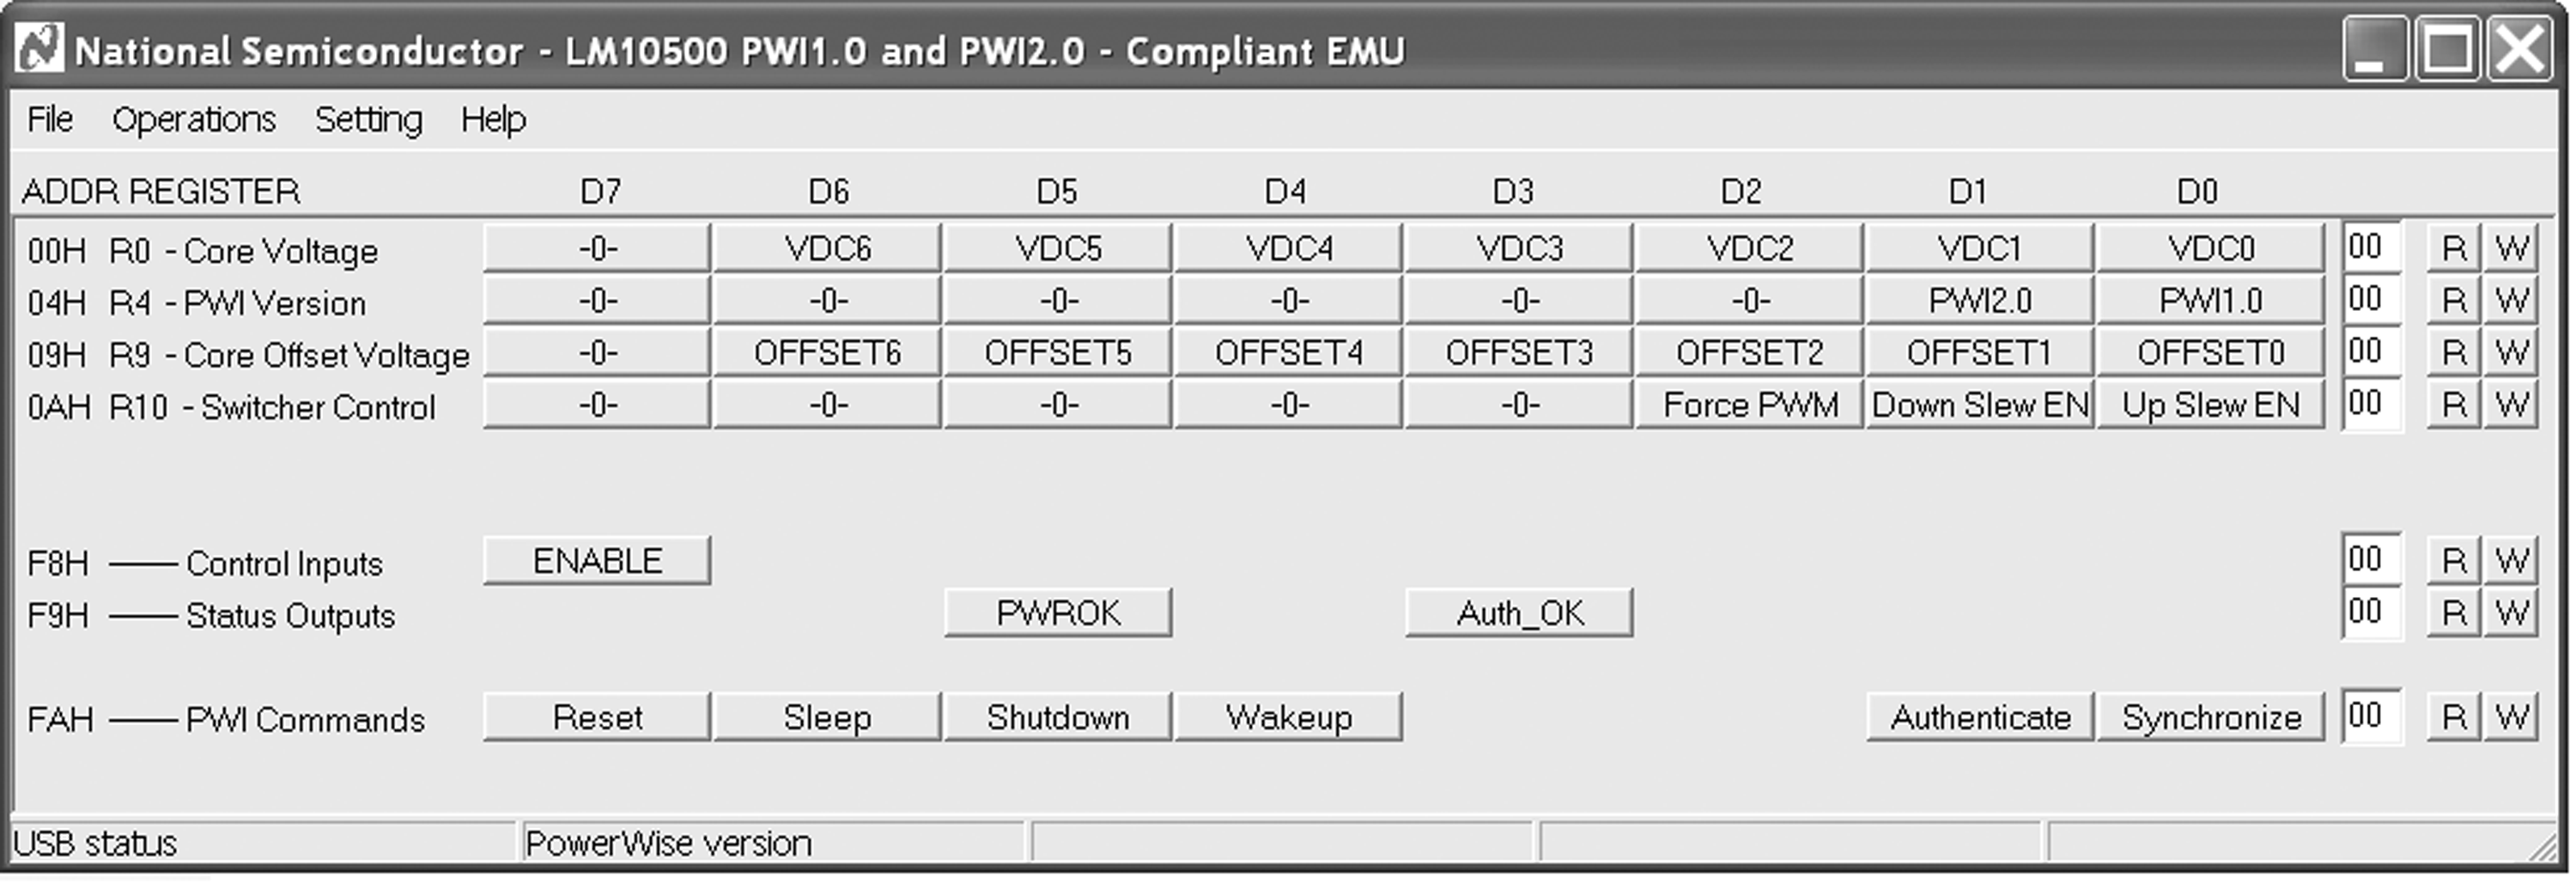
from the PC. The default state of the GUI is shown in Figure 9-1.
 Figure 9-1 User's GUI For The LM10500 Evaluation
Board
 - (Optional) Check authentication by clicking the ‘Authenticate’ button on the bottom right of the GUI. Then click ‘R’ on the right of the ‘Auth_OK’ button to read back the authentication result. If ‘PWROK’ and “Auth_OK’ are both ‘1’ (in their depressed positions), then authentication is succeeded and the GUI is ready to control the LM10500 evaluation board.
- CTRL + R, or from the menu
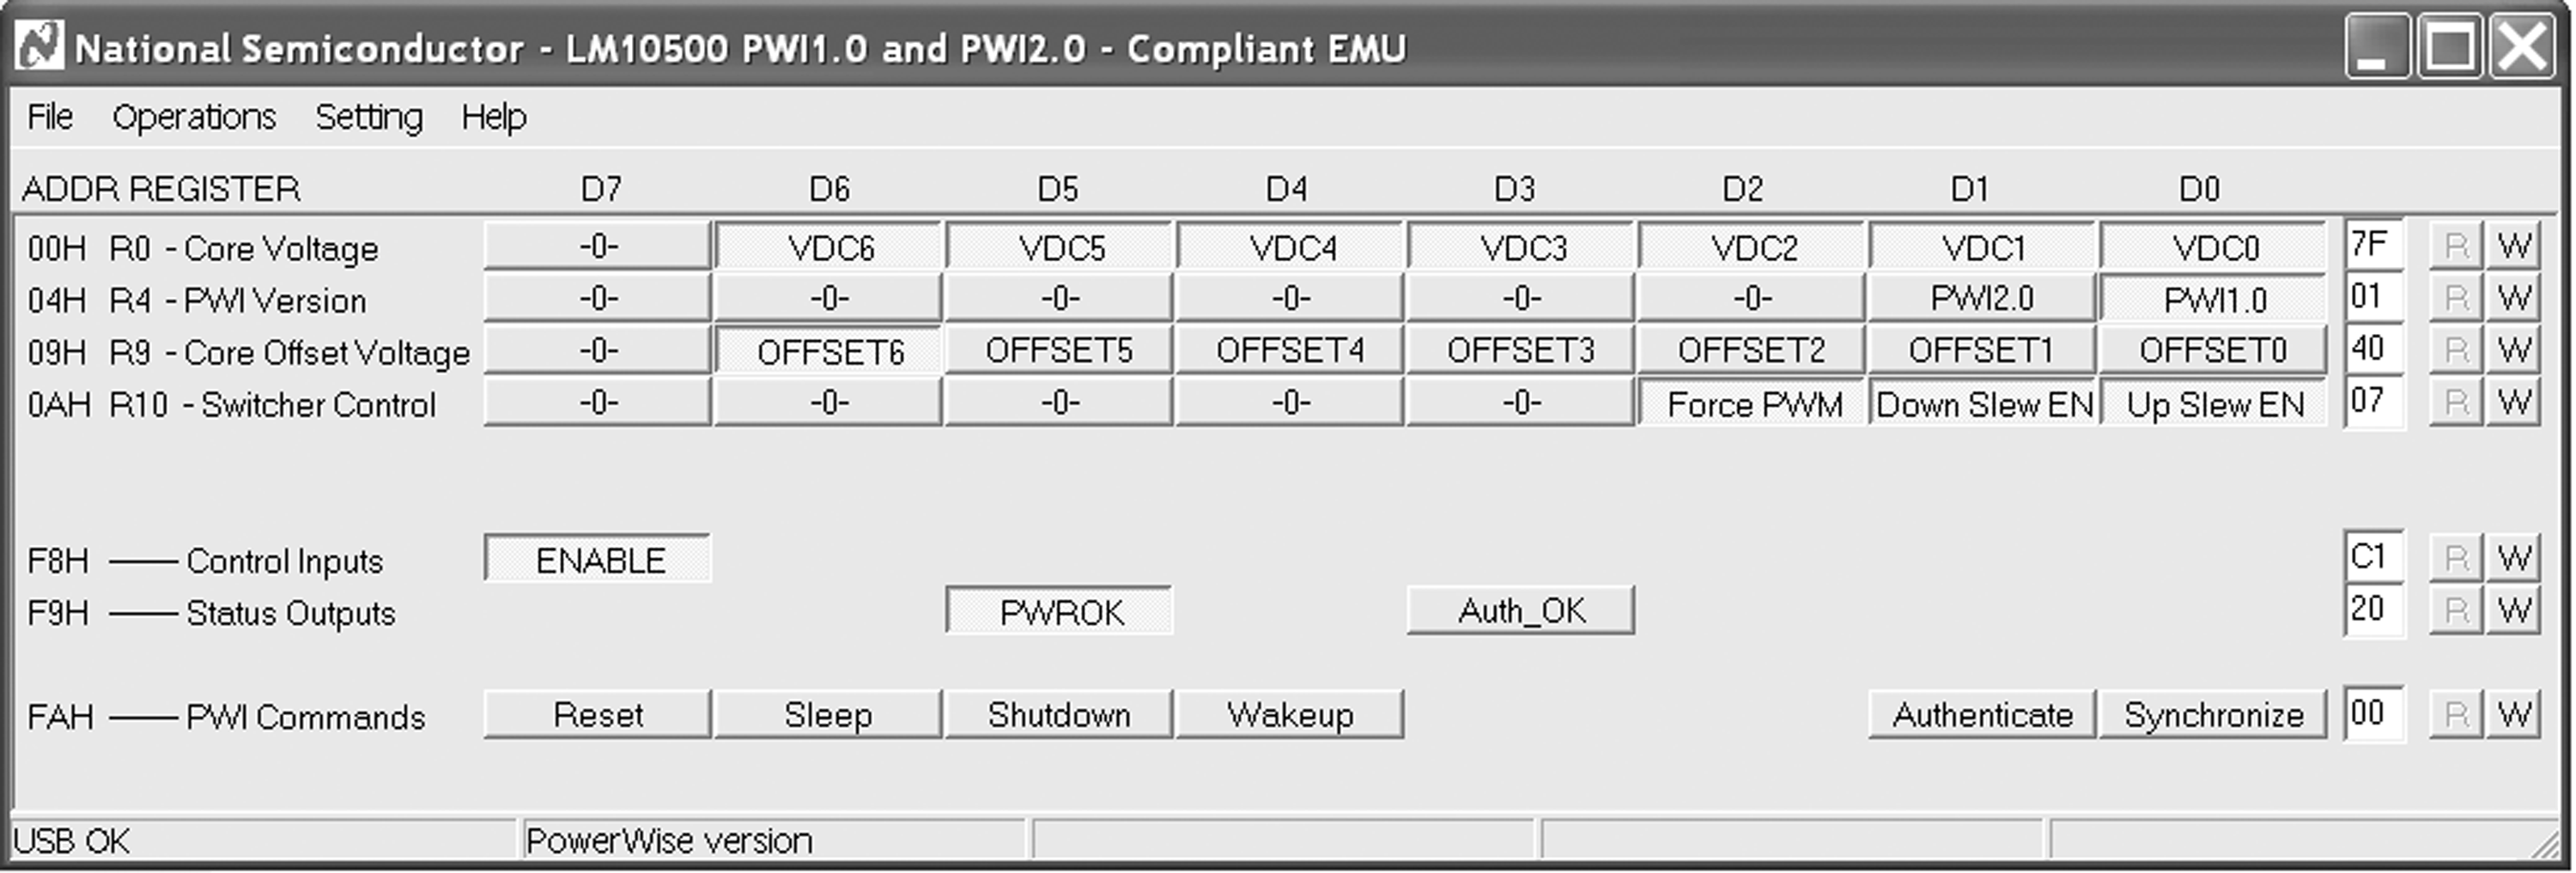
'Operations', select 'Read all', the default register values will be read from
the LM10500 and shown in the GUI, as in Figure 9-2. If the default register setting does not show, press reset button on the
USB2PWI board and repeat this step.
 Figure 9-2 The LM10500 GUI With Default Register Values And
Status (LM10500SQ-0.8)
Note:
Note that picture shows the default values for LM10500SQ-0.8 with PWI1.0. For LM10500SQ-1.0, R9 is 0H. For PWI2.0 protocol, R4 is 02H.