SLUUCU5 June   2024 TPS544C27


  1.   1
  2.   Description
  3.   Get Started
  4.   Features
  5.   Applications
  6.   6
  7. 1Evaluation Module Overview
    1. 1.1 Introduction
      1. 1.1.1 Before You Begin
    2. 1.2 Electrical Performance Specifications
    3. 1.3 Device Information
  8. 2Hardware
    1. 2.1 Test Equipment
      1. 2.1.1 Voltage Source
      2. 2.1.2 Oscilloscope
      3. 2.1.3 Multimeters
      4. 2.1.4 Output Load
      5. 2.1.5 Fan
      6. 2.1.6 USB-to-GPIO Interface Adapter:
      7. 2.1.7 Recommended Wire Gauge
    2. 2.2 List of Test Points, Jumpers, and Connectors
    3. 2.3 Efficiency Measurement Test Points
    4. 2.4 Control Loop Gain and Phase Measurement
    5. 2.5 External 5V bias to enhance efficiency
    6. 2.6 Input Current Measurement
  9. 3Software
    1. 3.1 Opening the PMBus Fusion GUI
    2. 3.2 Monitor Page
    3. 3.3 Status Page
  10. 4Performance Data and Typical Characteristics Curves
  11. 5Hardware Design Files
    1. 5.1 Schematics
    2. 5.2 PCB Layout
    3. 5.3 BOM
  12. 6Trademarks

Opening the PMBus Fusion GUI

Open the PMBus GUI shortcut on the desktop directly as shown in Figure 4-1.

TPS544C27 PMBus GUI Figure 3-1 PMBus GUI

After opening the PMBus GUI , the specific PMBus address of TPS544C27 system view is shown in Figure 4-2. By default, the position of the shunt on the EVM jumper sets the TPS544C27 address to 0x70h. Click on "Click to configure device"
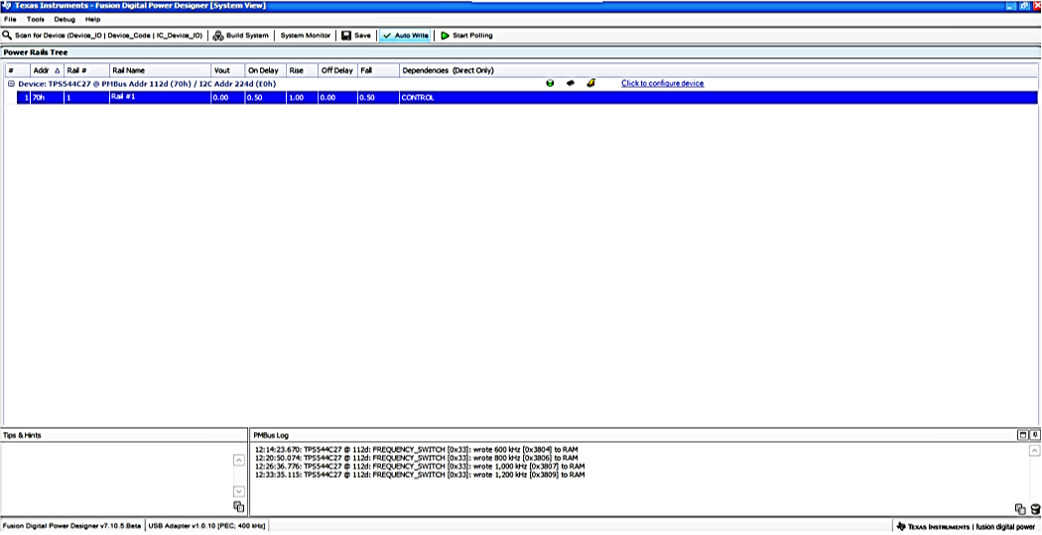
TPS544C27 PMBus GUI System View Figure 3-2 PMBus GUI System View