SWRA446 February 2015 CC1310 , CC1310 , CC2620 , CC2620 , CC2630 , CC2630 , CC2640 , CC2640 , CC2640R2F , CC2640R2F , CC2640R2F-Q1 , CC2640R2F-Q1 , CC2650 , CC2650 , CC2650MODA , CC2650MODA
5.2 Build the Software Example
- On Windows, specify the make tool you are using. Navigate to Project → Properties → C/C++ build. Under the tab 'Builder Settings', uncheck 'Use default build command' and type in the build command you are using. If you are using the MinGW tools, the command will be mingw32-make.
- If you have a device that is different from the CC2650F128RGZ device, open the file called 'makedefs' in the project directory and change the variable called CHIP_ID to the ID that suits your device.
- Right click the project and select 'Build Project'. This will create the binary files blink_led.bin and blink_led.elf.
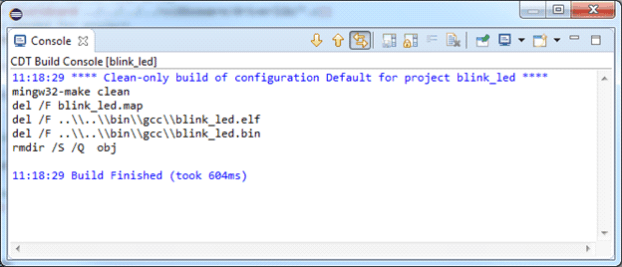
- Right click blink_led and select 'Clean Project' if you want to clean the project. On Windows, the console output from the build command should be as shown in Figure 13.
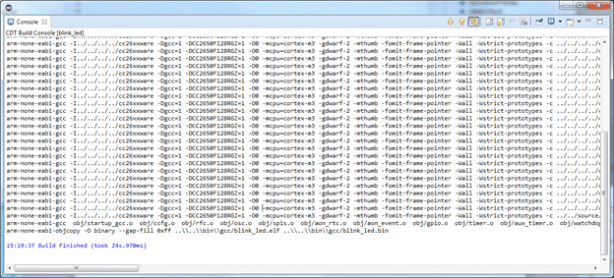
On Windows, the console output from the build command should be as shown in Figure 12.
 Figure 12. Build Project
 NOTE
On Linux, if the build fails and arm-none-eabi-gcc is not found, you must edit the file called makedefs. Modify the CC and OBJCOPY variables by adding the full path to arm-none-eabi-gcc and to arm-none-eabi-objcopy. These tools are both found in the bin folder under where GNU Tools for ARM Embedded Processors was installed.
 Figure 13. Clean Project