SLAU834 October 2020 ISO7760 , ISO7762 , MSP432E401Y , TPS92520-Q1 , TPS92682-Q1
- Trademarks
- 1Description
- 2Features and Specifications
- 3Schematic, PCB Layout, and Bill of Materials
- 4Software
-
5LEDMCUEVM-132 Power UP and Operation
- 5.1 GUI Start-up
- 5.2 MCU Control Window
- 5.3 SPI Command Window
- 5.4
GUI Devices Window and Example Connections and Power Up
- 5.4.1 TPS92520EVM-133 Connections and Power UP
- 5.4.2 TPS92520EVM-133 Devices Window
- 5.4.3 TPS92518EVM-878 Connections and Power Up
- 5.4.4 TPS92518EVM-878 Devices Window
- 5.4.5 TPS92682EVM-069 + TPS92520EVM-133 Connection and Power UP
- 5.4.6 TPS92520, TPS92682 - LPP074 - E1 Devices Window
- 5.4.7 TPS92682EVM-069 + TPS92520EVM-133 + TPS92662EVM6-901 Connection and Power UP
- 5.4.8 TPS92662EVM6-901 Devices Window
4.2 Step-by-Step Installation Instructions
This section shows the detailed installation instructions with screen shots.
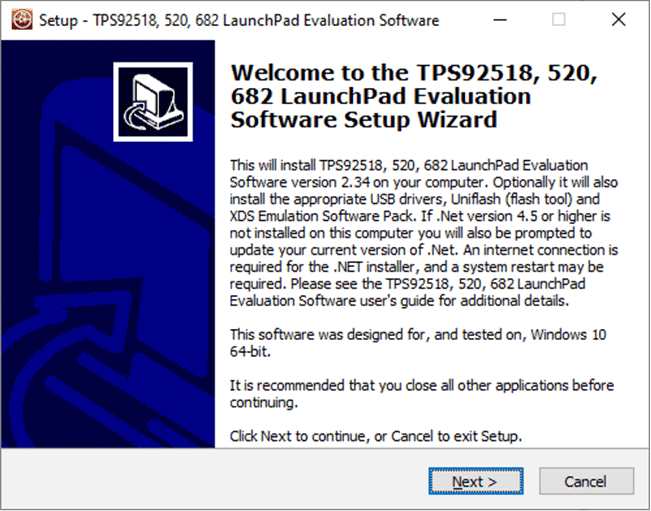 Figure 4-1 Setup Screen 1
Click Next > to install.
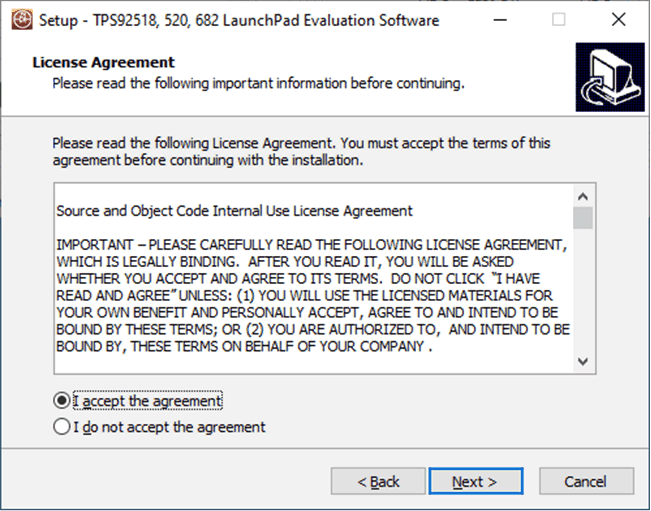 Figure 4-2 Setup Screen 2
Click Next > to accept the License Agreement.
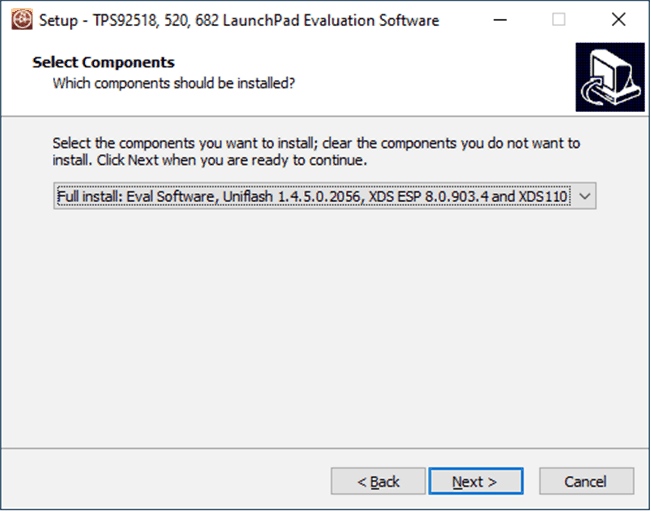 Figure 4-3 Setup Screen 3
Select Full Install and click Next > to install the evaluation software, the UniFlash, and the required XDS drivers. Full installation for both Microsoft® Windows® 10 and Microsoft® Windows® 7 are provided.
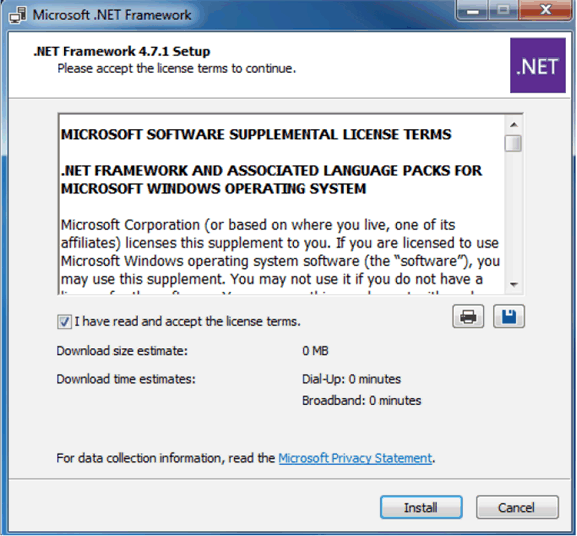 Figure 4-4 Setup Screen 4
If Microsoft® .NET Framework 4.5 or higher does not exist on the computer, the .NET Framework installation begins. Installation of .NET Framework will take several minutes. If the .NET Framework 4.5 or higher exists on the computer, the installation jumps to the XDS driver installation.
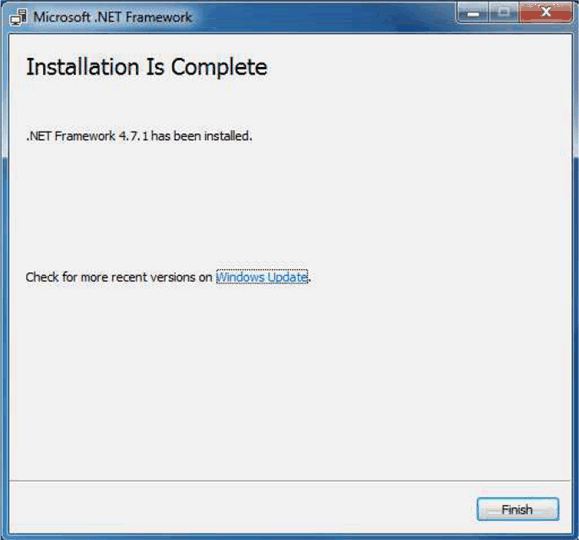 Figure 4-5 Setup Screen 5
A window appears indicating the completion of the .NET Framework installation.
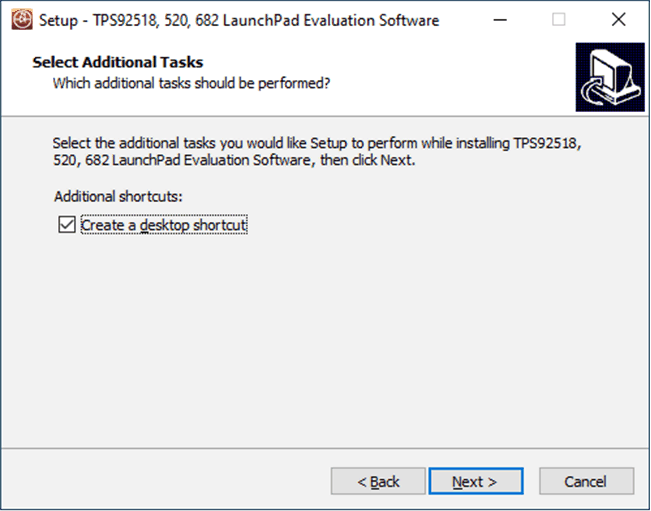 Figure 4-6 Setup Screen 6
Click the Next > to proceed.
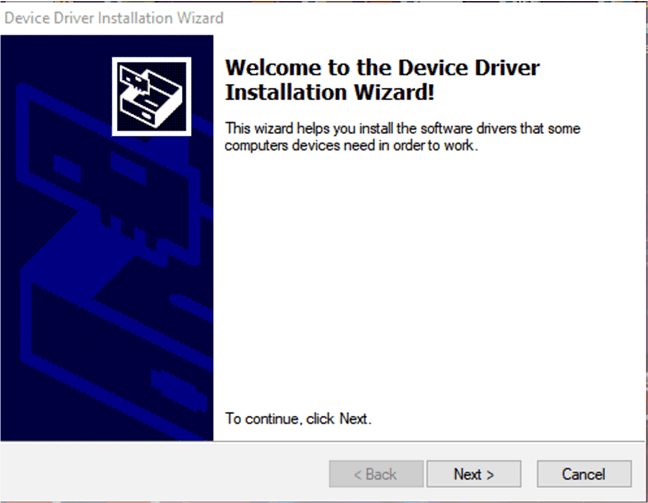 Figure 4-7 Setup Screen 7
Click the Next > button to install the XDS driver.
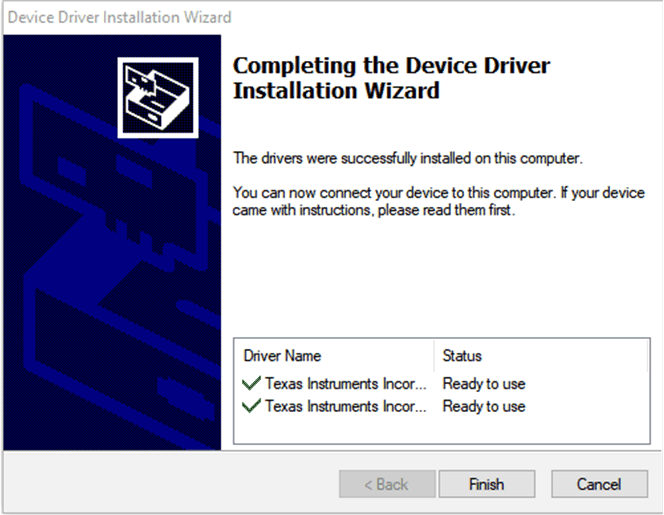 Figure 4-8 Setup Screen 8
Figure 4-8 shows the completion of the XDS driver installation.
The TI-Emulators installation starts at this point. This will install the necessary drivers for running the application. In the next few steps (as shown in Figure 4-9, Figure 4-10, and Figure 4-11) click Next > to perform the installation.
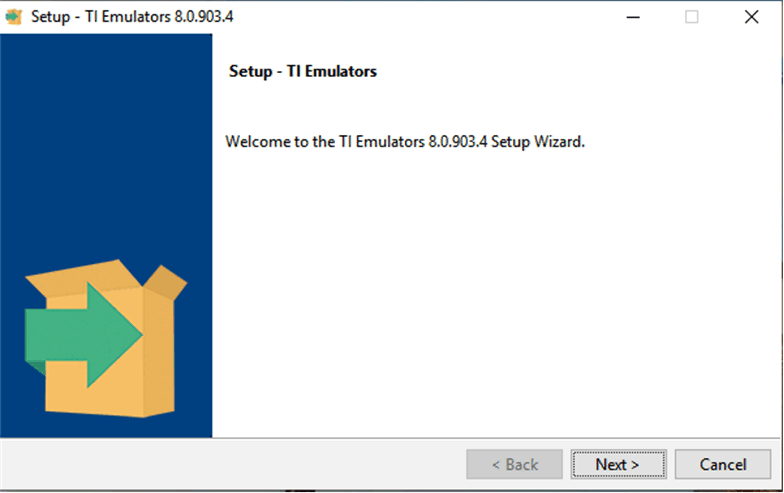 Figure 4-9 Setup Screen 9
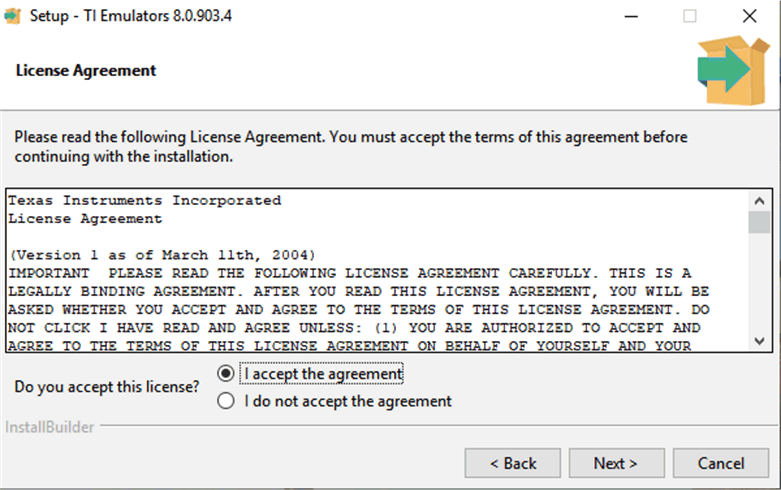 Figure 4-10 Setup Screen 10
Accept the license agreement in Figure 4-10.
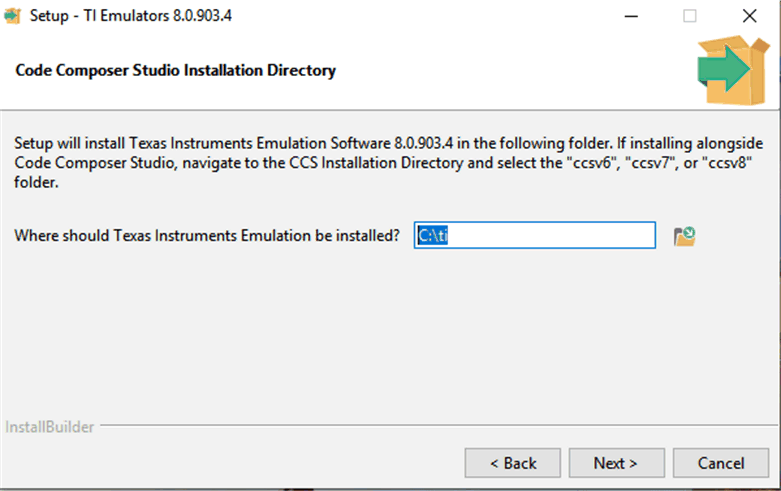 Figure 4-11 Setup Screen 11
In the next few windows click Next >, and if prompted by Windows Security about software installation as shown in Figure 4-12, select Install.
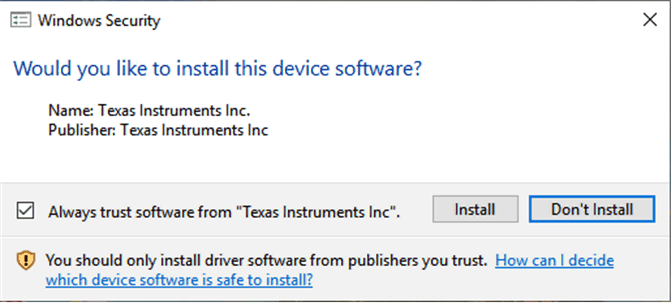 Figure 4-12 Setup Screen 12
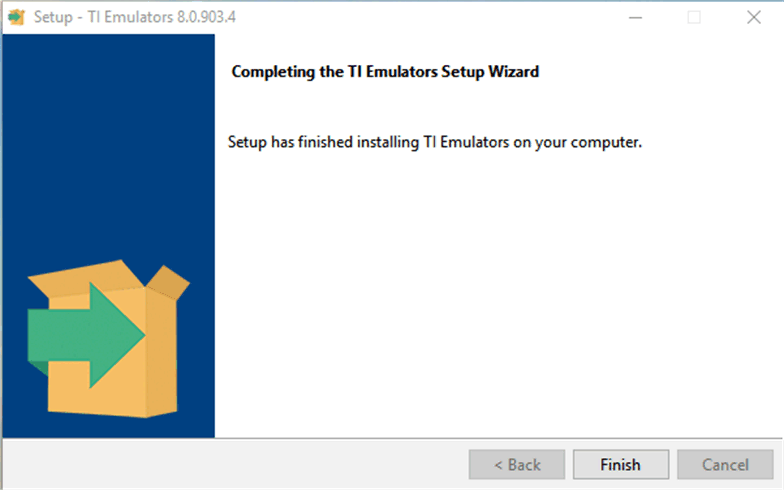 Figure 4-13 Setup Screen 13
The screen showing the completion of the TI Emulators installation is shown in Figure 4-13. Click on Finish to move to the next step.
The UniFlash installation starts at this point. UniFlash is required to program the LaunchPad. In the next few steps as shown in Figure 4-14, Figure 4-15, and Figure 4-16 click Next > to proceed and start the installation.
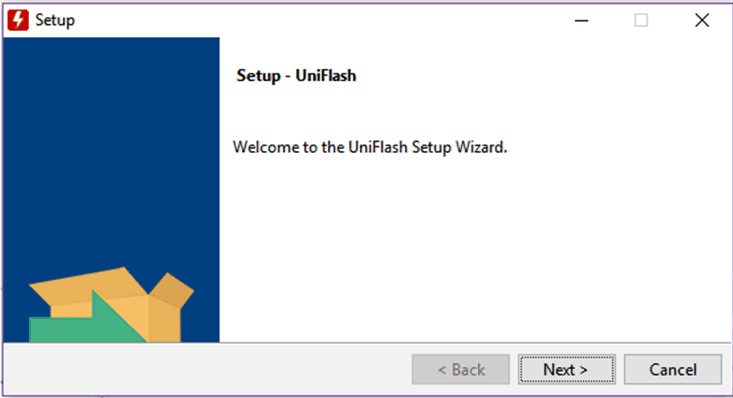 Figure 4-14 Setup Screen 14
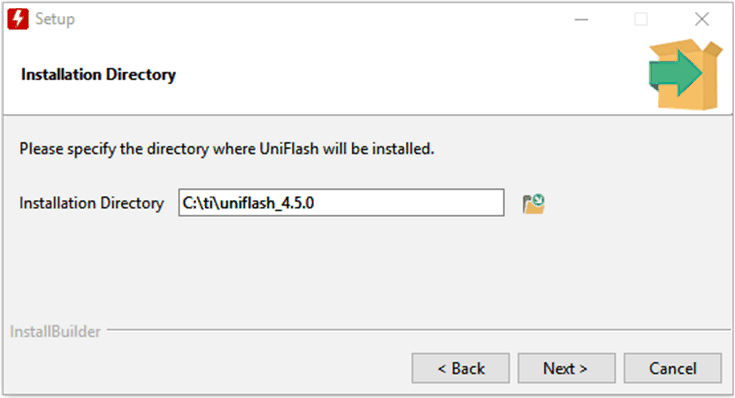 Figure 4-15 Setup Screen 15
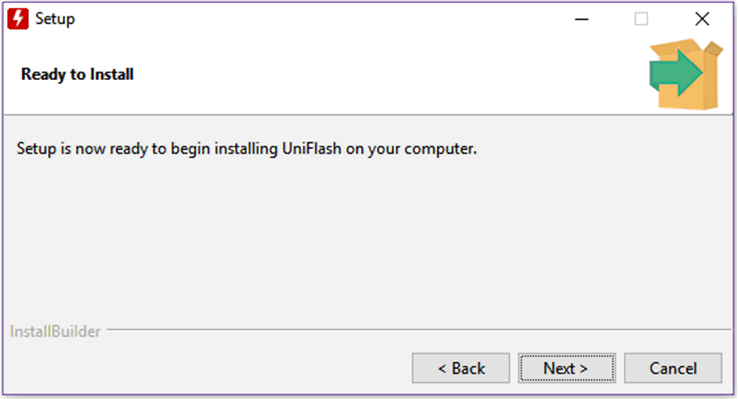 Figure 4-16 Setup Screen 16
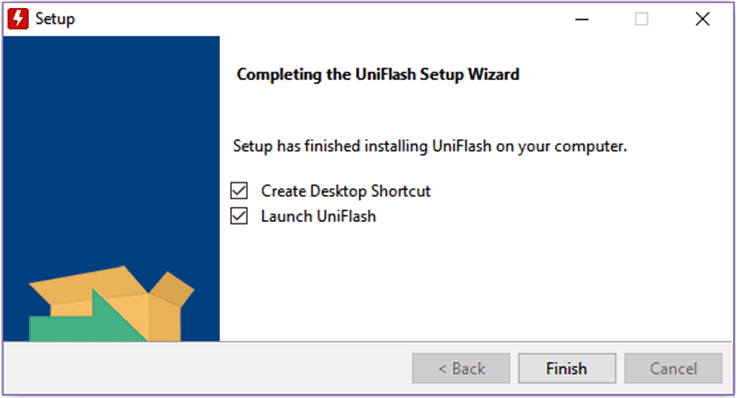 Figure 4-17 Setup Screen 17
When UniFlash installation is complete, click the Finish button to launch the UniFlash and program the LaunchPad.
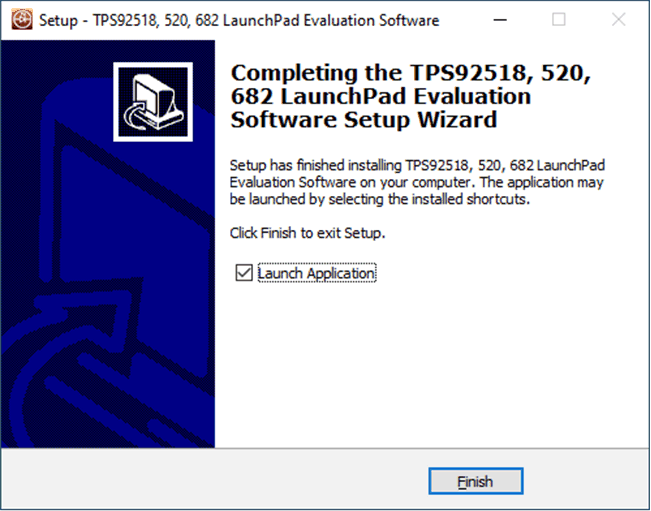 Figure 4-18 Setup Screen 18
Figure 4-18 shows the completion of the TPS92520-Q1 Evaluation Software . Un-check Launch Application and click the Finish button.