SLOU558B August 2022 – January 2023 DRV8452 , DRV8462 , DRV8962
- Abstract
- Trademarks
- 1 Introduction
- 2 Jumpers Table and Setup
- 3 Software Setup
- 4 Hardware Setup
- 5 Launching the DRV84xx_DRV82x2_DRV89x2-EVM GUI Application
- 6 GUI Operations DRV8461EVM, DRV8462EVM, and DRV8462VEVM
- 7 GUI Operations DRV8962EVM and DRV8962VEVM
- 8 GUI Operations DRV8262EVM and DRV8262VEVM
- 9 Updating Firmware
- 10Evaluation Hardware Overview
- A Appendix A
9 Updating Firmware
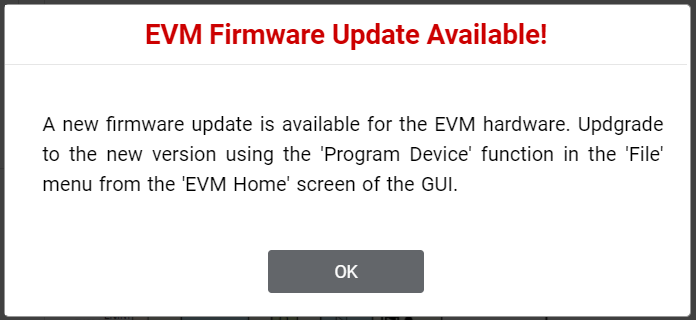
Your EVM includes the ability to update the MCU firmware controlling the DRV84xx_DRV82x2_DRV89x2EVM driver device without any additional hardware. There should be a pop-up every time the GUI Driver Control page is selected after an EVM connection is made and if a new update becomes available as can be seen in EVM Firmware Update Pop-Up.
 Figure 9-1 EVM Firmware Update Pop-up
 Figure 9-2 Update Firmware. Successful firmware update will bring up a message window stating "Flash Successful!".