SLOU583 September 2024 OPT101 , OPT3001 , OPT3001-Q1 , OPT3002 , OPT3004 , OPT3005 , OPT3006 , OPT3007 , OPT4001 , OPT4001-Q1 , OPT4003-Q1 , OPT4048 , OPT4060
2.1 Hardware Setup
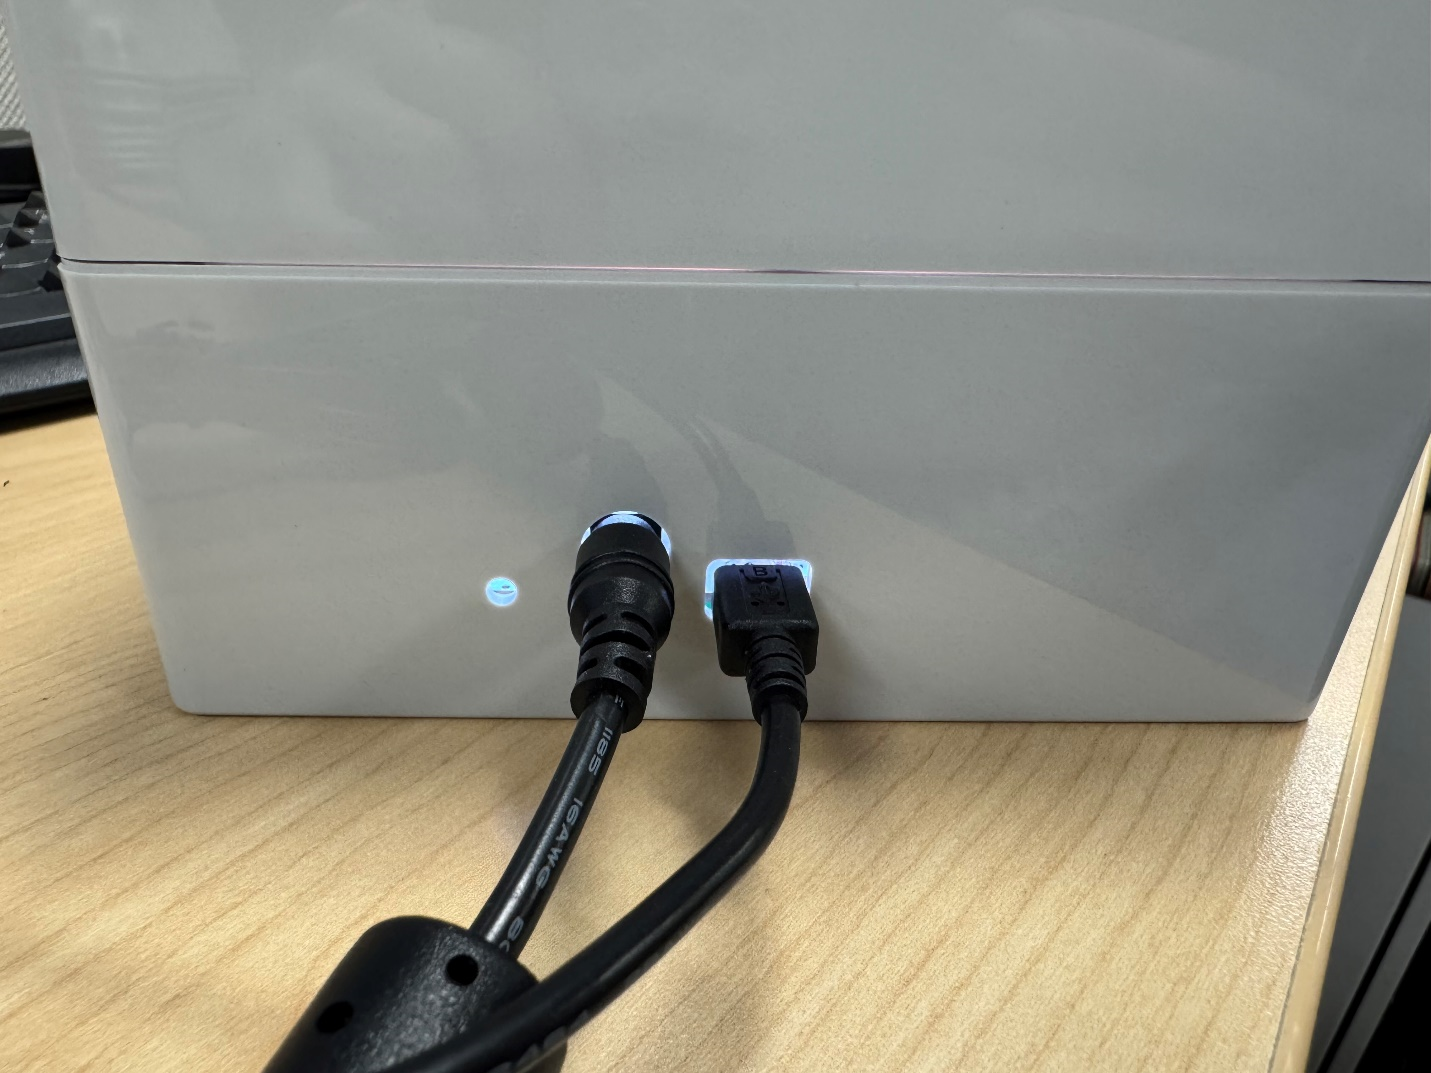
The computer runs the graphical user interface (GUI) software that communicates with the LIGHTSOURCE01EVM over a USB connection. The LIGHTSOURCE01EVM board has a microUSB port and ships with the microUSB cable. The user has to provide the power supply, as the EVM does not ship with a power supply already included. To get started, connect the AC cord to the AC/DC adapter and make the connection from the EVM to a power outlet. Then, plug the microUSB cable to the LIGHTSOURCE01EVM and make the connection to your computer. The hardware connections are shown in Figure 2-1. When plugging in the power and USB cords, plug in the power cord first.
The power supply MUST be 15V only. The calibration light source does not work otherwise. Additionally, must supply up to 3A and have a barrel connector. The outer diameter, inner diameter, and barrel length must be 5.5mm, 2.1mm, and 9.5mm respectively.
 Figure 2-1 USB and Power Connections
The LIGHTSOURCE01EVM receives serial commands from the computer that control the brightness of the LEDs and the lighting mode. The EVM ships fully contained, so no assembly is required from the user.